
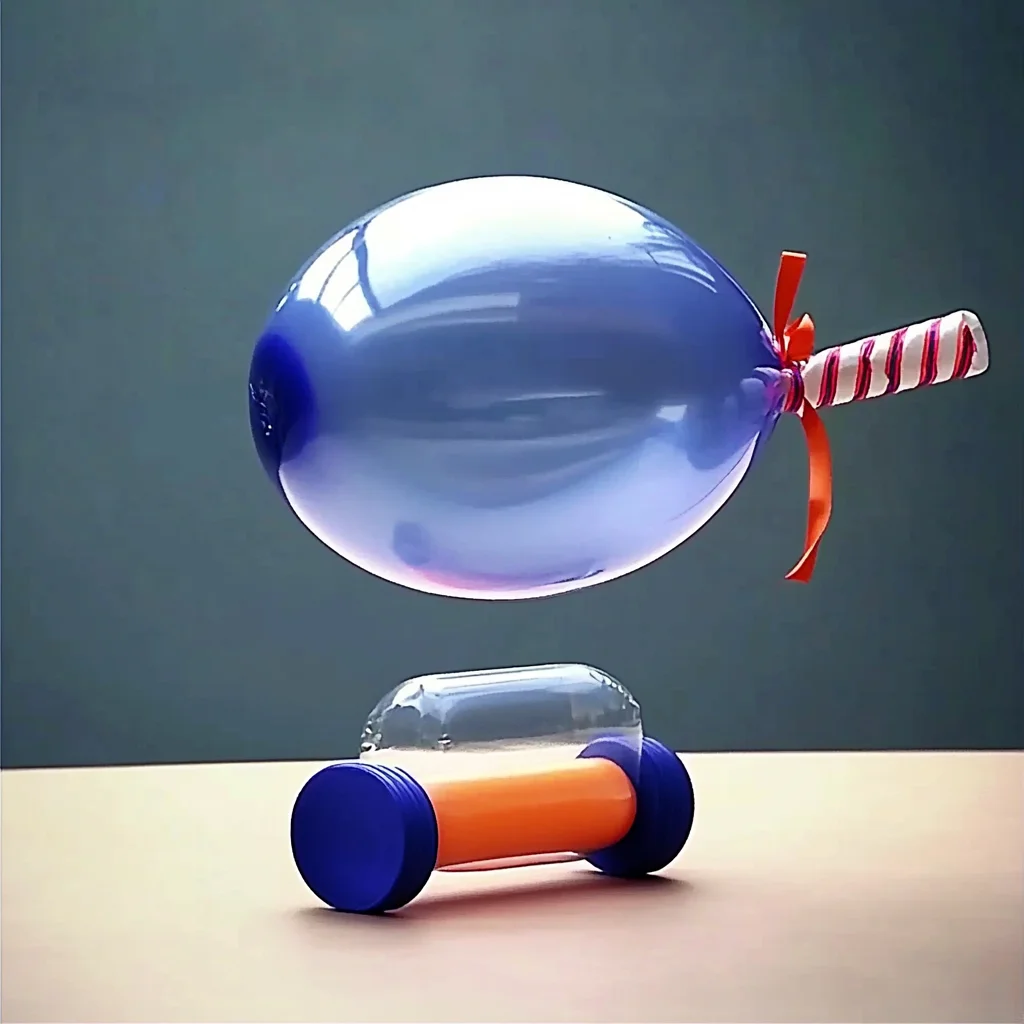
Have you ever watched a balloon zoom across the room, powered by nothing but air? It’s a magical sight, isn’t it? Making a balloon car is not only a delightful way to unleash your creativity, but it also brings back the joy of childhood experiments. Imagine the thrill of watching your handmade creation race across the floor, filled with the laughter of friends and family. It’s a simple yet exciting project that can spark curiosity and joy in both kids and adults alike. So, grab your materials and let’s embark on this crafty adventure together!
Why You’ll Love How to Make a Balloon Car
- Beginner-friendly
- Budget-friendly
- Creative and fun
- Great for kids and families
- Perfect for gifts or decorations
- Customizable
The Heart Behind This DIY
There’s something truly special about creating something with your own hands. Crafting a balloon car encourages creativity, problem-solving, and even a bit of engineering! As you work on this project, you’ll experience the joy of making, the satisfaction of seeing your ideas come to life, and the delightful anticipation of testing your creation. Plus, it’s a wonderful opportunity to bond with loved ones, sharing laughter and ideas as you build your little racer. Crafting nourishes our minds and spirits, making it a perfect escape from the day-to-day hustle.
A Gentle Look at the Process
Picture yourself surrounded by colorful materials, the sound of scissors snipping, and the gentle rustle of tape being applied. You’ll start by transforming an ordinary plastic bottle into a sleek car body, then you’ll create axles and wheels that will give your car movement. Finally, the magic happens when you attach the balloon—watching it zip away will fill your heart with pure joy! This creative journey is about enjoying each step and letting your imagination take the wheel.
Materials You’ll Need
- 1 balloon – The star of the show! It’s what gives your car its power.
- 1 plastic bottle (empty) – This will serve as the body of your car.
- 4 bottle caps – These will function as wheels, so pick a fun color!
- 2 skewers or wooden dowels – These will be your axles, allowing your wheels to turn.
- Tape or glue – Use this to secure your balloon and other parts together.
- Scissors – For cutting the plastic bottle and making holes for the axles.
Step-by-Step Directions
Step 1
Begin by carefully cutting the plastic bottle in half. You’ll want to use the bottom half as the body of your car. Make sure to smooth out any rough edges to keep little fingers safe.
Step 2
Next, use your scissors to puncture holes on opposite sides of the bottle, about 1 inch from the bottom. These holes will allow you to insert the skewers, which act as axles for your wheels.
Step 3
Now, push the skewers through the holes you just made. This is where your wheels will attach, so ensure they’re snug but able to turn freely.
Step 4
Attach a bottle cap to each end of the skewers to serve as wheels. If they feel loose, a little tape can help keep them in place while still allowing them to spin.
Step 5
Inflate the balloon, but don’t tie it! Pinch the neck to keep the air inside while you prepare to attach it to the car.
Step 6
Using tape, secure the inflated balloon to the top of the bottle, ensuring the opening is facing backward. This is crucial for the propulsion effect!
Step 7
Finally, release the balloon and watch your balloon car zoom forward! It’s a thrilling finish to your crafting session.
Creative Ways to Use How to Make a Balloon Car
Your balloon car can serve many purposes! Host a mini race with friends and family, turning it into a fun game. Decorate your cars with stickers or paint to give them personalities. They make great gifts for little ones or even playful decorations for a birthday party. You could set up a small racetrack at home and let everyone compete for the fastest car!
How to Store, Preserve, or Reuse How to Make a Balloon Car
To keep your balloon car in good shape, store it in a dry place away from direct sunlight. If the balloon gets deflated, you can easily replace it for a new round of fun. The plastic bottle body can last a long time, so feel free to reuse it for future crafting projects!
Creative Variations and Customizations
- Color variations – Use colored balloons or paint your bottle for a unique look.
- Theme ideas – Create themed cars like race cars, sports cars, or even futuristic designs.
- Seasonal adaptations – Decorate your cars for holidays like Halloween or Christmas.
- Kid-friendly modifications – Let kids use stickers to personalize their cars.
- Advanced creative upgrades – Experiment with different shapes or additional decorations for a more complex design.
Tips for Success
- Avoid cutting the bottle too jaggedly to ensure it holds together well.
- Be cautious with scissors, especially if young children are involved.
- Prepare your materials ahead of time to streamline the process.
- Clean up as you go to keep your workspace tidy.
- Experiment with different balloon sizes for varying speeds.
FAQs About How to Make a Balloon Car
Can beginners make this?
Absolutely! This project is perfect for beginners of all ages.
Can children participate?
Yes! Kids will love this project, especially with adult supervision during cutting.
How long does it last?
With proper care, the structure can last a long time, though the balloon may need replacing after a few uses.
Can I customize it?
Definitely! Feel free to decorate and personalize your balloon car in any way you like.
A Final Creative Note
As you wrap up your balloon car project, take a moment to celebrate your creativity and the joy of making something from scratch. Each handmade item carries a piece of your heart and imagination. I hope this project has inspired you to continue exploring the wonderful world of DIY. For more delicious recipes, check out these blueberry lemon ricotta pancakes or these key lime pie cookies for treats you will love! Remember, crafting is not just about the end result; it’s about the joy of the journey. Happy crafting!
For more DIY inspiration, follow our Pinterest account!
How to Make a Balloon Car
Equipment
- Scissors
- Tape or Glue
Ingredients
For the Balloon Car
- 1 balloon any size or color
- 4 bottle caps for wheels
- 2 straws for axles
- 1 plastic or foam base such as a cut-up fruit container or cardboard
- tape or glue for assembly
- small piece of paper optional, for decoration
Instructions
- Step 1: Cut the plastic or foam base to the desired size if necessary. Make sure the base is sturdy enough to support the straws, wheels, and balloon.
- Step 2: Position the two straws through or underneath the base so they are parallel and evenly spaced. Leave enough room on both sides for the wheels to spin freely.
- Step 3: Attach one bottle cap to each end of the two straws using tape or glue. Test the wheels and adjust them if they rub against the body or fail to spin freely.
- Step 4: Inflate the balloon and pinch the opening to keep the air inside. Do not tie the balloon because the open end will be used to create propulsion.
- Step 5: Tape the balloon securely to the top of the base with the open end pointing toward the back of the car. Make sure the opening remains unobstructed.
- Step 6: Place the balloon car on a flat, smooth surface. Hold the balloon opening closed, position the car in a clear area, and release the air to watch the car move forward.
