
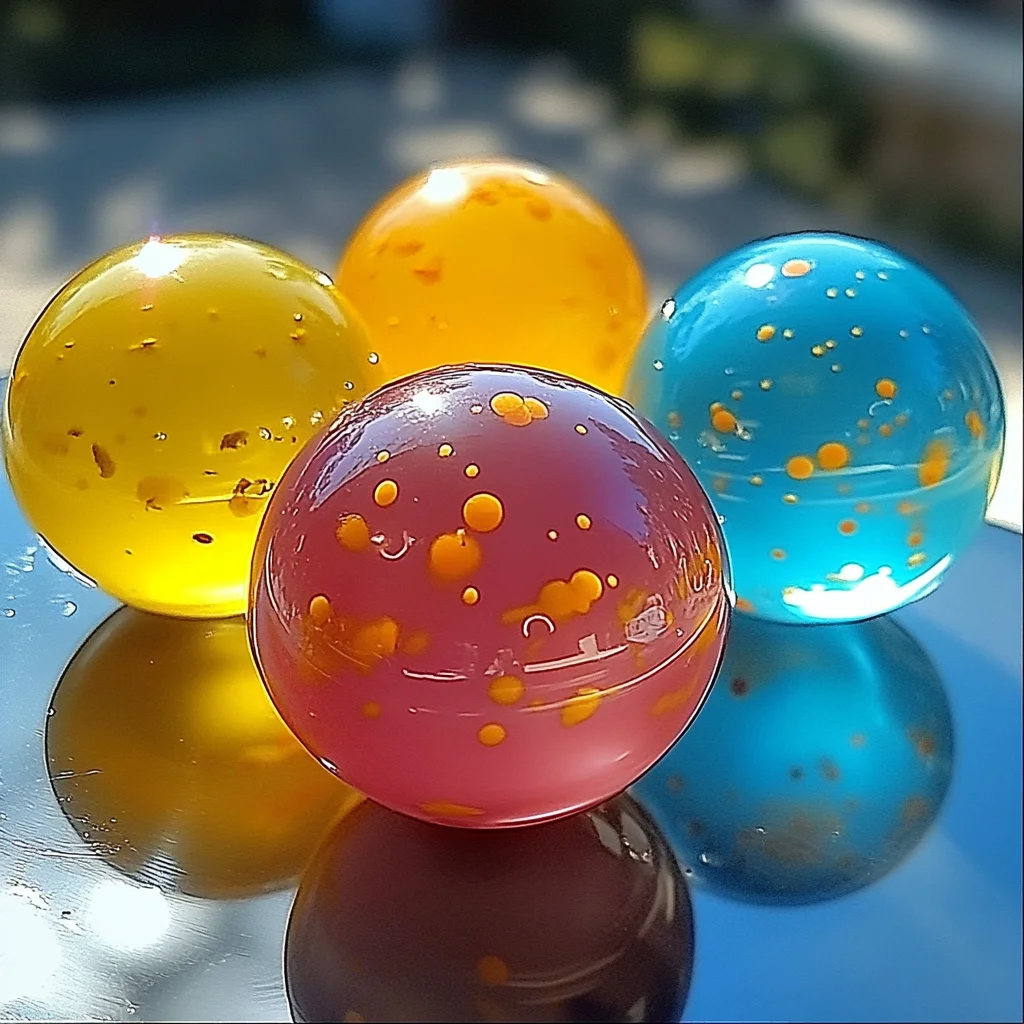
Remember those endless summer days, the ones filled with laughter, sunshine, and the sheer joy of a perfectly bouncing ball? There’s something so magical about a simple toy that can bring hours of entertainment, isn’t there? Today, we’re going to recreate that nostalgic feeling with a fantastic DIY craft that’s as fun to make as it is to play with: Bouncing Rainbow Balls! These little wonders are incredibly easy to whip up, making them perfect for a rainy afternoon project, a creative party activity, or even a thoughtful homemade gift. Get ready to bounce with delight!
Why You’ll Love Bouncy Ball
- Fast: You can make these in under an hour!
- Easy: Simple steps that anyone can follow.
- Giftable: Perfect for party favors or little surprises.
- Crowd-pleasing: Kids and adults alike will have a blast!
Ingredients
Gathering your supplies is a breeze. You likely have most of these on hand, which makes this recipe even more appealing!
- 1/2 cup white school glue (the classic kind works best!)
- 1 tablespoon borax powder (this is your secret bouncing agent!)
- 1 tablespoon water (just a little to help the glue mix smoothly)
- 1/4 teaspoon food coloring (optional, but highly recommended for that rainbow effect!)
- 1/4 cup warm water (for dissolving the borax)
- Cornstarch (about 1/4 cup, plus a little extra for adjustments)
How to Make Bouncy Ball
Alright, let’s get down to business and create some bouncing magic! It’s a simple, satisfying process.
Step 1: Prepare the Borax Solution
First things first, grab a small bowl. Pour in your 1/4 cup of warm water and add 1 tablespoon of borax powder. Give it a good stir until all that borax is completely dissolved. This is your activator!
Step 2: Mix the Glue and Cornstarch
In a separate, slightly larger mixing bowl, combine your 1/2 cup of white school glue with 1/4 cup of cornstarch. Now, add that 1 tablespoon of water. Stir everything together until it forms a nice, smooth mixture. It might seem a little thick at first, but that’s exactly what we want!
Step 3: Add Color (Optional, but Fun!)
This is where the magic really happens! If you want vibrant, bouncy balls, now’s the time to add your food coloring. I like to divide the glue mixture into a few smaller containers and add a different color to each. Stir each one thoroughly to make sure the color is evenly distributed. Remember, a little goes a long way!
Step 4: Combine the Mixtures
Now for the exciting part! Slowly, and I mean slowly, start pouring the borax solution into your colored glue mixtures while stirring continuously. You’ll notice it start to thicken up right before your eyes. It’s like a little science experiment happening in your bowl!
Step 5: Knead the Ball
Once the mixture is thick and gloopy, it’s time to get your hands in there! Carefully remove the thickened mixture from the bowl. It might be a bit sticky at first, so don’t be alarmed. Knead it with your hands for about 2-3 minutes. Think of it like kneading dough. If it feels too sticky, add a tiny bit more cornstarch. If it feels too dry and crumbly, add just a drop or two of water. You’re looking for a pliable, less sticky consistency.
Step 6: Shape the Ball
Now that you’ve got that perfect texture, it’s time to shape your creation! Roll the kneaded mixture between your hands until you have a smooth, compact ball. If you made multiple colors, you can swirl them together for a fantastic marbled effect, or keep them separate for distinct colors!
Step 7: Dry the Ball
The final step to ultimate bounciness! Let your newly formed balls dry for a few hours. This step is crucial for them to reach their full bouncing potential. You’ll feel the difference when they’re ready!
Substitutions & Additions
Feeling adventurous? You can totally customize these bouncy balls! Instead of traditional school glue, you could try experimenting with glitter glue for some sparkle. And don’t be afraid to mix and match colors for unique patterns. If you’re looking for other fun craft ideas, you might enjoy making your own DIY Bouncing Rainbow Balls or trying out the DIY Tie-Dye Bouncy Balls for an extra pop of color!
Tips for Success
Here are a few pointers from my kitchen to yours:
- Don’t over-dissolve the borax: Make sure it’s fully dissolved, but you don’t need to stir for ages.
- Add color gradually: It’s easier to add more color than to take it away if you go too dark.
- Knead patiently: The kneading process is key to getting the right texture. Don’t rush it!
- Adjust consistency slowly: Small additions of cornstarch or water make a big difference.
- Prep ahead: You can make the borax solution and glue mixture ahead of time and store them separately in airtight containers.
How to Store Bouncy Ball
Once your bouncy balls are completely dry, store them in an airtight container or a zip-top bag. They should keep their bounce for quite some time, but remember that homemade crafts are best enjoyed fresh! If they start to feel a little dry or lose their bounce, you can sometimes revive them by gently kneading them with a tiny bit of water.
FAQs
Q: Can I use different types of glue?
A: White school glue is generally the most reliable for this recipe. Other types of glue might produce different results.
Q: Why is my bouncy ball not bouncing?
A: Ensure you’ve followed the steps carefully, especially the drying time. Also, make sure your borax is fully dissolved and you’ve kneaded the mixture well.
Q: Can these be made without food coloring?
A: Absolutely! They will still bounce just as well, they just won’t have the fun colors.
Q: Are these safe for young children?
A: While the ingredients are non-toxic, adult supervision is recommended, especially during the mixing stages. The finished balls are not meant to be eaten.
I hope you have as much fun making and playing with these DIY Bouncing Rainbow Balls as I do! They’re a wonderful way to get creative and unleash some playful energy. If you’re looking for more fantastic craft and recipe ideas, be sure to check out our easy DIY bioplastic suncatchers or our delicious Lemon Ricotta Delight. Happy crafting!
For more creative inspiration and delicious recipes, follow us on Pinterest!
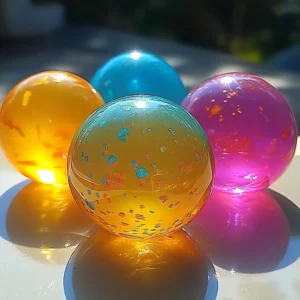
DIY Bouncing Rainbow Balls
Equipment
- Small bowl
- Larger mixing bowl
- Several smaller containers (for coloring)
- Measuring cups and spoons
- Stirring utensils
- Airtight container or zip-top bag (for storage)
Ingredients
For the Bouncy Balls
- 1/2 cup white school glue classic kind
- 1 tablespoon borax powder bouncing agent
- 1 tablespoon water for glue mixture
- 1/4 teaspoon food coloring optional, for rainbow effect
- 1/4 cup warm water for dissolving borax
- 1/4 cup cornstarch plus extra for adjustments
Instructions
- Step 1: Prepare the Borax Solution: In a small bowl, combine 1/4 cup warm water with 1 tablespoon of borax powder. Stir until fully dissolved.
- Step 2: Mix the Glue and Cornstarch: In a larger bowl, combine 1/2 cup white school glue, 1/4 cup cornstarch, and 1 tablespoon water. Stir until smooth.
- Step 3: Add Color (Optional): Divide the glue mixture into smaller containers. Add a different food coloring to each and stir well to distribute color evenly.
- Step 4: Combine the Mixtures: Slowly pour the borax solution into the colored glue mixtures while stirring continuously. The mixture will thicken.
- Step 5: Knead the Ball: Once the mixture is thick, remove it from the bowl. Knead with your hands for 2-3 minutes, adding a little extra cornstarch if too sticky or a drop of water if too dry, until pliable.
- Step 6: Shape the Ball: Roll the kneaded mixture between your hands to form a smooth, compact ball. Swirl colors together for a marbled effect if desired.
- Step 7: Dry the Ball: Let the formed balls dry for a few hours to achieve their full bouncing potential.