
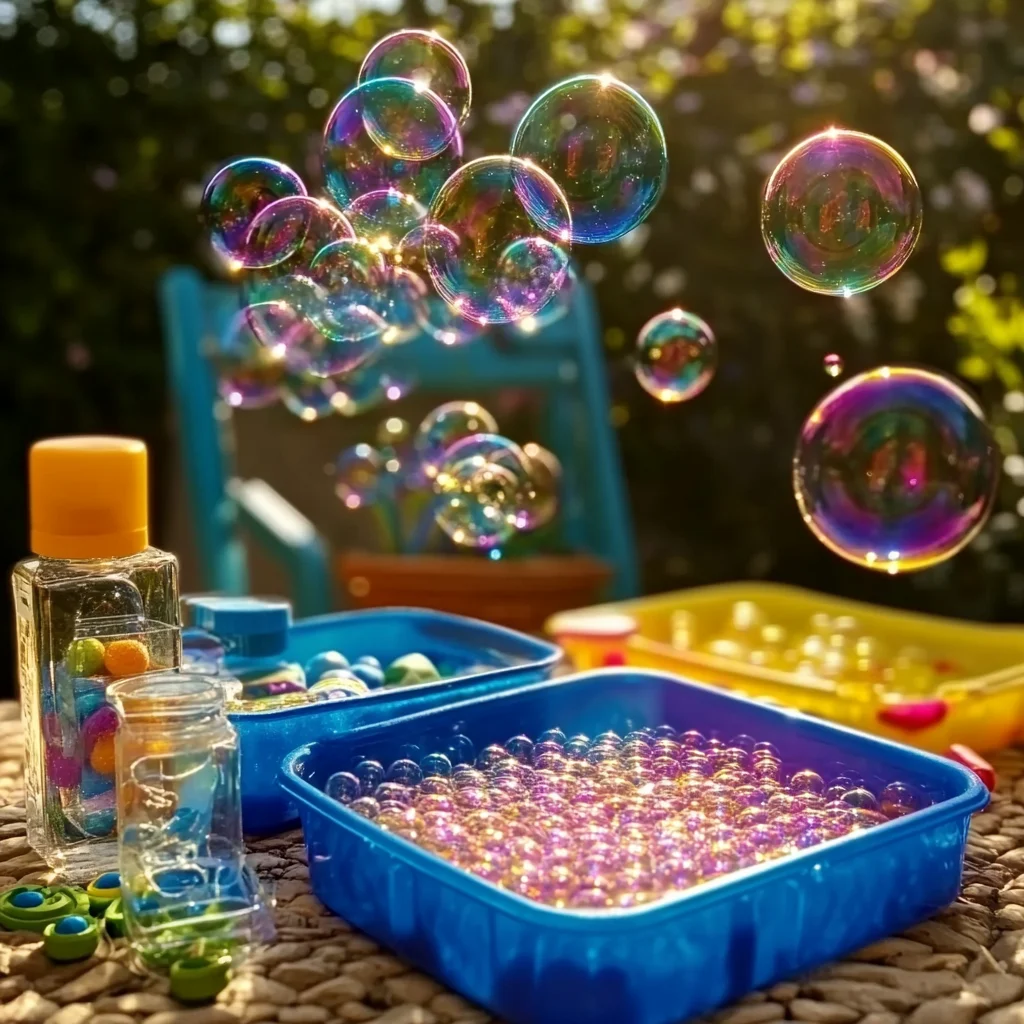
Remember those magical summer afternoons, chasing iridescent spheres that danced on the breeze? There’s something so wonderfully simple and joyful about bubbles, isn’t there? It brings back that carefree feeling of childhood, a time when a simple jug of soapy water could unlock hours of outdoor fun. And guess what? You can recreate that magic right at home with these incredibly easy DIY bubble recipes! Forget those store-bought bottles that run out too quickly. We’re diving into how to make your own bubble solution that’s sure to impress, whether you’re planning a backyard party or just a quiet afternoon of fun.
Why You’ll Love DIY Bubble Fun
- Fast: Whip up a batch in minutes!
- Easy: Simple ingredients you probably already have.
- Giftable: Make a big batch and share the joy!
- Crowd-pleasing: Fun for all ages, from toddlers to grandparents.
Ingredients
Gathering your supplies is a breeze. Here’s what you’ll need:
- 6 cups water: The base of our bubbly magic.
- 1 cup dish soap: Your secret weapon for super suds! Dawn is usually a favorite for its reliable bubble-making power.
- 1/4 cup glycerin OR 2 tablespoons corn syrup: This is the key ingredient that makes your bubbles stronger and last longer. Glycerin is fantastic, but corn syrup is a great alternative if you don’t have it on hand.
- Food coloring (optional): For a splash of color in your bubbly creations!
- Bubble machine or fan (optional): For a non-stop bubble blizzard!
How to Make DIY Bubble Fun
Making your own bubble solution is so satisfyingly simple. You’ll feel like a mad scientist, but in the best, most fun way possible!
- Mix the base: Grab a large bowl or container. Pour in your 6 cups of water and 1 cup of dish soap. Now, add your glycerin or corn syrup. Here’s a little tip from me: stir everything gently. We want bubbles, but not a bowl full of foam just yet! Stirring too vigorously can create too much foam initially, which can affect the final bubble quality.
- Let it rest: Now for the patient part – let the mixture sit undisturbed for at least 1 to 2 hours. This resting period is crucial! It allows the ingredients to meld together and significantly improves the strength and longevity of your bubbles. Think of it as letting your ingredients have a little nap to get ready for their big performance.
- Get creative with Bubble Painting: Want to add an artistic twist? This is where the fun really ramps up! Divide your bubble solution into several smaller bowls. Add a few drops of your favorite food coloring to each. Now, grab some straws or bubble wands. Dip them into the colored solution and gently blow bubbles onto white paper. The bubbles will pop, leaving behind beautiful, airy paint patterns. It’s a fantastic way to make unique art, sort of like a more controlled version of DIY bubble painting art. Let the paper dry completely, and marvel at your creations!
- Create a Foam Bubble Bin: For some tactile sensory play, try this! In a sensory bin or a large container, mix about 1/2 cup of dish soap with 1 to 2 cups of water. Add food coloring if you’re feeling colorful. Now, the fun part: use a hand mixer or a whisk to create a mountain of glorious foam! This is perfect for little hands to explore and create with.
- Achieve Giant Bubbles: Want to make bubbles the size of your head (or bigger!)? Pour your rested bubble solution into a kiddie pool. Dip a hula hoop into the solution, making sure it gets fully coated. Gently lift the hula hoop out, keeping it level, and walk backward slowly. Watch in amazement as a colossal bubble floats away! It’s a truly magical sight, and a fantastic way to entertain a crowd. For more outdoor fun, you might enjoy making DIY fun bouncing bubbles!
- The Bubble Pop Challenge: Turn it into a game! Blow a stream of bubbles using your solution and a bubble machine or fan. Set a timer for 30 seconds and see who can pop the most bubbles. It’s a simple, energetic game that gets everyone moving. You can even try to make them glow in the dark with our glow-in-the-dark bubbles DIY for a nighttime adventure!
Substitutions & Additions
Feeling adventurous? Here are some ways to tweak your bubble magic:
- Sparkle and Shine: Add a tablespoon of glitter to your bubble solution for extra shimmer. Craft glitter works best.
- Scented Bubbles: A few drops of essential oil (like lavender or lemon) can add a lovely scent. Just be mindful of sensitivities if you have young children or pets around.
- Stronger Bubbles: Some people swear by adding a bit of cornstarch to the mix for even more robust bubbles. Start with a tablespoon.
- For a Fruity Twist: While not for blowing, if you’re making edible treats for a party, you might enjoy something like Jolly Rancher Candy Grapes or Jolly Rancher Candy Apples for a sweet treat!
Tips for Success
A few little tricks up my sleeve to ensure your bubble-making goes off without a hitch:
- Patience is a Virtue: I can’t stress enough how important the resting time is. Don’t skip it!
- Avoid Over-Stirring: As mentioned, too much agitation before resting creates excess foam that can make weak bubbles.
- Weather Matters: Humid days are your friend for bubble making. Dry, windy days can make bubbles pop faster.
- Clean Equipment: Make sure your bowls and wands are clean. Any residue can affect the bubble solution.
- Prep Ahead: You can make a large batch of the basic solution and store it. Just give it a gentle stir before using. This is great if you’re preparing for a party and want to have everything ready to go, similar to how you might prepare homemade pimento cheese squares in advance for guests.
How to Store DIY Bubble Fun
Got leftover bubble solution? Great! You can store it in an airtight container or bottle. It’s best to keep it out of direct sunlight. Properly stored, the solution should remain effective for several weeks, though the glycerin might settle slightly. Just give it a gentle swirl before your next bubble adventure.
FAQs
Q: Can I use any dish soap?
A: While most dish soaps will work, brands like Dawn tend to produce the best, most consistent bubbles due to their formula.
Q: My bubbles keep popping! What am I doing wrong?
A: Make sure you’re using glycerin or corn syrup, and that you’ve allowed the solution to rest for at least an hour. Also, try to avoid making the solution too foamy when you first mix it.
Q: Can I make colored bubbles without food coloring?
A: You can try using concentrated liquid watercolors, but be aware they might stain surfaces more than food coloring.
Q: How can I make bubbles even stronger?
A: Some people find adding a bit of cornstarch or even a small amount of guar gum (if you have it) can make bubbles more durable. Experiment to see what works best for you!
There you have it! Simple, effective, and endlessly fun. These DIY bubble recipes are perfect for adding a little magic to your day. For more fun and easy craft and recipe ideas, be sure to follow us on Pinterest!

DIY Bubble Fun
Equipment
- Large bowl or container
- Small bowls
- Straws or bubble wands
- White paper
- Sensory bin or large container
- Hand mixer or whisk
- Kiddie pool
- Hula hoop
- Bubble machine or fan
- Airtight container or bottle (for storage)
Ingredients
For the Basic Bubble Solution
- 6 cups water the base
- 1 cup dish soap Dawn is recommended
- 1/4 cup glycerin OR 2 tablespoons corn syrup
- 1-2 tablespoons cornstarch optional, for stronger bubbles
- food coloring optional, for color
- 1 tablespoon glitter optional, for sparkle
- a few drops essential oil optional, for scent
Instructions
- Step 1: Mix the base: Grab a large bowl or container. Pour in your 6 cups of water and 1 cup of dish soap. Now, add your glycerin or corn syrup. Stir everything gently. Avoid stirring too vigorously to prevent excess foam.
- Step 2: Let it rest: Let the mixture sit undisturbed for at least 1 to 2 hours. This resting period is crucial for improving the strength and longevity of your bubbles.
- Step 3: Get creative with Bubble Painting: Divide your bubble solution into several smaller bowls. Add a few drops of food coloring to each. Dip straws or bubble wands into the colored solution and gently blow bubbles onto white paper. Let the paper dry completely to reveal unique art patterns.
- Step 4: Create a Foam Bubble Bin: In a sensory bin or large container, mix about 1/2 cup of dish soap with 1 to 2 cups of water. Add food coloring if desired. Use a hand mixer or whisk to create a mountain of foam.
- Step 5: Achieve Giant Bubbles: Pour your rested bubble solution into a kiddie pool. Dip a hula hoop into the solution, ensuring it's fully coated. Gently lift the hula hoop, keeping it level, and walk backward slowly to create colossal bubbles.
- Step 6: The Bubble Pop Challenge: Blow a stream of bubbles using your solution and a bubble machine or fan. Set a timer for 30 seconds and see who can pop the most bubbles.