
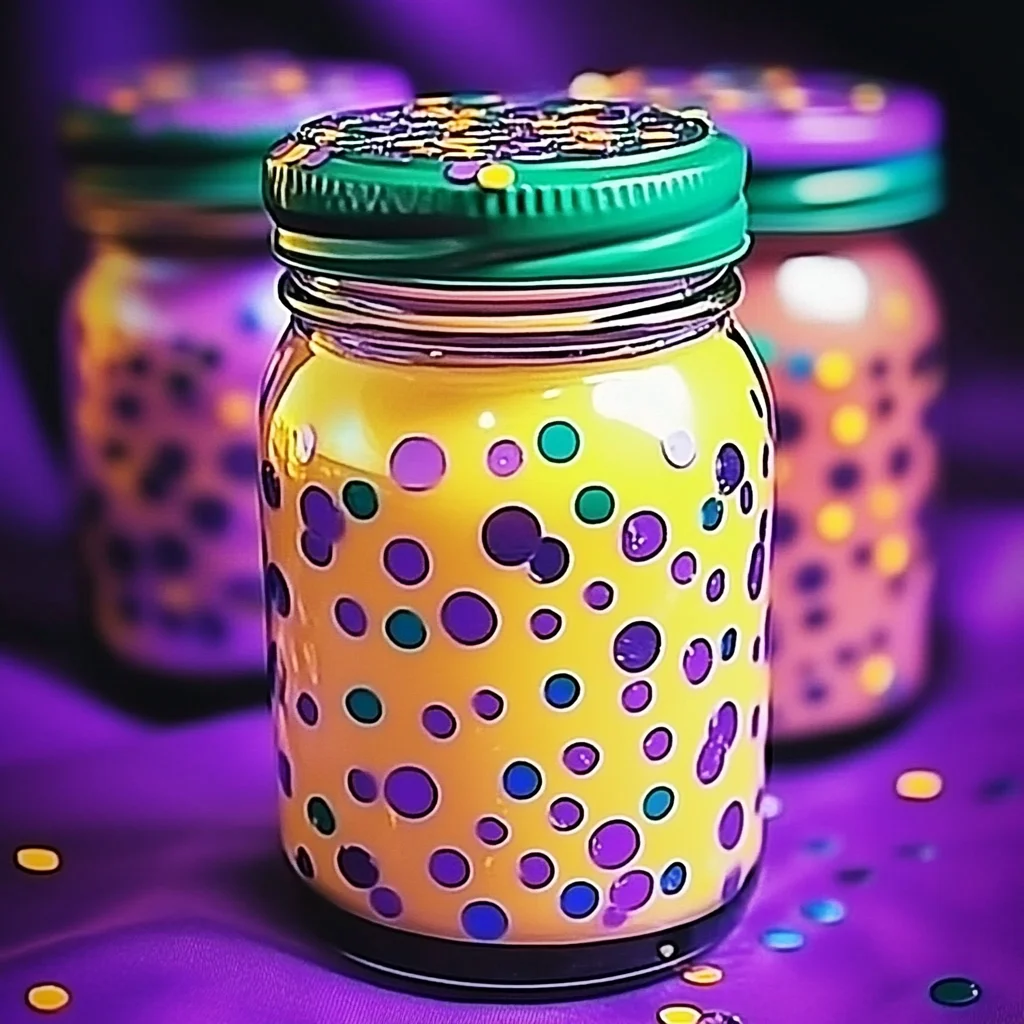
There’s something truly magical about watching glitter swirl and dance in a bottle, isn’t there? The simple act of creating a glitter sensory bottle can transport you back to childhood moments filled with wonder. Imagine shaking it gently, hearing the soft sound of glitter cascading, and watching as it settles like tiny stars in a night sky. This DIY project is not only fun and colorful, but it also serves as a fantastic tool for relaxation and mindfulness. So, grab your crafting supplies, and let’s embark on this joyful journey together!
Why You’ll Love Glitter Sensory Bottle
- Beginner-friendly
- Budget-friendly
- Creative and fun
- Great for kids and families
- Perfect for gifts or decorations
- Customizable
The Heart Behind This DIY
Creating a glitter sensory bottle is about more than just the finished product; it’s an experience that fosters creativity and connection. As you gather materials and mix your chosen colors, you are engaging in a mindful practice that encourages relaxation. The process of crafting allows you to express yourself, and it can also be a wonderful bonding activity for families. Watching the glitter settle can be soothing, making this project a delightful way to unwind after a busy day.
A Gentle Look at the Process
As we dive into this project, you can expect a calming, step-by-step experience that invites your creativity to flow. You’ll be filling a bottle with colorful elements, shaking it up, and watching as everything comes together in a mesmerizing display. Each step will fill you with joy and anticipation as you create something beautiful with your own hands.
Materials You’ll Need
- Clear plastic bottle with a lid – This will be the canvas for your glitter creation.
- Water – The main element that will allow your glitter to flow and swirl.
- Clear glue (optional) – This can give your sensory bottle a thicker consistency for a more dramatic effect.
- Glitter (various colors) – Choose your favorite shades to make your bottle pop!
- Small decorative items (e.g., sequins, beads, stars) – Add some sparkle and personality to your bottle.
- Food coloring (optional) – A few drops can add a vibrant touch to your creation.
Step-by-Step Directions
Step 1
Start by filling your plastic bottle about three-quarters full with water. This will give your glitter enough room to float and swirl.
Step 2
If you prefer a thicker consistency, add some clear glue to the water. This step is optional, but it can create a lovely visual effect as the glitter moves.
Step 3
Now it’s time to get creative! Pour in a desired amount of glitter and any small decorative items you want to include. Feel free to mix colors and shapes for a unique look.
Step 4
If you’d like to add some color, drop in a few drops of food coloring. Swirl it around a bit to see how it blends with the water.
Step 5
Securely close the lid on the bottle, making sure it’s tight so nothing spills out.
Step 6
Now for the fun part! Shake the bottle gently to mix everything together and watch as the glitter and decorations swirl around. It’s a mesmerizing sight!
Step 7
Finally, allow the contents to settle before using your sensory bottle. This will give you the best visual effect as you enjoy the calming display.
Creative Ways to Use Glitter Sensory Bottle
Your glitter sensory bottle can serve many purposes! It can be a beautiful decoration on a shelf or desk, a calming tool during stressful moments, or even a delightful gift for a friend. You can use it for sensory play with children, helping them to explore colors and movement. Try displaying it in a sunny spot to watch the glitter twinkle in the light. The possibilities are endless, and each use brings a bit of joy and creativity into your home!
How to Store, Preserve, or Reuse Glitter Sensory Bottle
To keep your glitter sensory bottle looking its best, store it in a cool, dry place away from direct sunlight. If you want to change it up, you can always empty it out and create a new version with different colors or decorations. The glue and water mixture can last for quite some time, but if you notice any cloudiness, it may be time for a refresh.
Creative Variations and Customizations
- Color variations – Experiment with different glitter colors and combinations.
- Theme ideas – Create seasonal themes, like autumn leaves or winter wonderlands.
- Seasonal adaptations – Use colors that match the time of year, such as pastels for spring or warm tones for fall.
- Kid-friendly modifications – Use non-toxic glitter and decorations for a safe crafting experience with little ones.
- Advanced creative upgrades – Add LED lights for a sparkling effect or incorporate small figurines for a themed sensory experience.
Tips for Success
- Common mistakes to avoid – Make sure the lid is secured tightly to prevent leaks.
- Safety tips – Keep small items away from very young children to prevent choking hazards.
- Preparation suggestions – Gather all materials beforehand to make the process smooth and enjoyable.
- Cleanup recommendations – Use a tray or tablecloth to catch any spilled glitter during the crafting process.
- Expert crafting tips – Don’t be afraid to experiment! Mixing different kinds of glitter can create stunning effects.
FAQs About Glitter Sensory Bottle
Can beginners make this?
Absolutely! This project is perfect for beginners, and the steps are simple to follow.
Can children participate?
Yes, this is a wonderful project for kids! Just supervise them with any small items and ensure safety.
How long does it last?
When stored properly, your glitter sensory bottle can last for months, providing ongoing enjoyment.
Can I customize it?
Definitely! Feel free to tailor the colors and materials to suit your personal style or the recipient’s preferences.
A Final Creative Note
I hope this DIY project inspires you to embrace your creativity and enjoy the therapeutic benefits of crafting. Remember, every glitter sensory bottle you make is a unique expression of your imagination. So gather your materials, let your creativity shine, and enjoy the beautiful process of making something with your own hands. For more delicious recipes, check out the blueberry cheesecake swirl rolls recipe or the easy peaches and cream pie recipe for treats you will love! And if you are looking for more DIY inspiration, don’t forget to follow my Pinterest account!
Create Your Own Sparkling Glitter Sensory Bottle
Equipment
- Clear plastic bottle with a lid
- Tray or tablecloth
Ingredients
Materials You'll Need
- water
- clear glue optional
- glitter various colors
- small decorative items e.g., sequins, beads, stars
- food coloring optional
Instructions
- Step 1: Start by filling your plastic bottle about three-quarters full with water.
- Step 2: If you prefer a thicker consistency, add some clear glue to the water.
- Step 3: Pour in a desired amount of glitter and any small decorative items you want to include.
- Step 4: Add a few drops of food coloring if you'd like, then swirl it around.
- Step 5: Securely close the lid on the bottle.
- Step 6: Shake the bottle gently to mix everything together.
- Step 7: Allow the contents to settle before using your sensory bottle.
