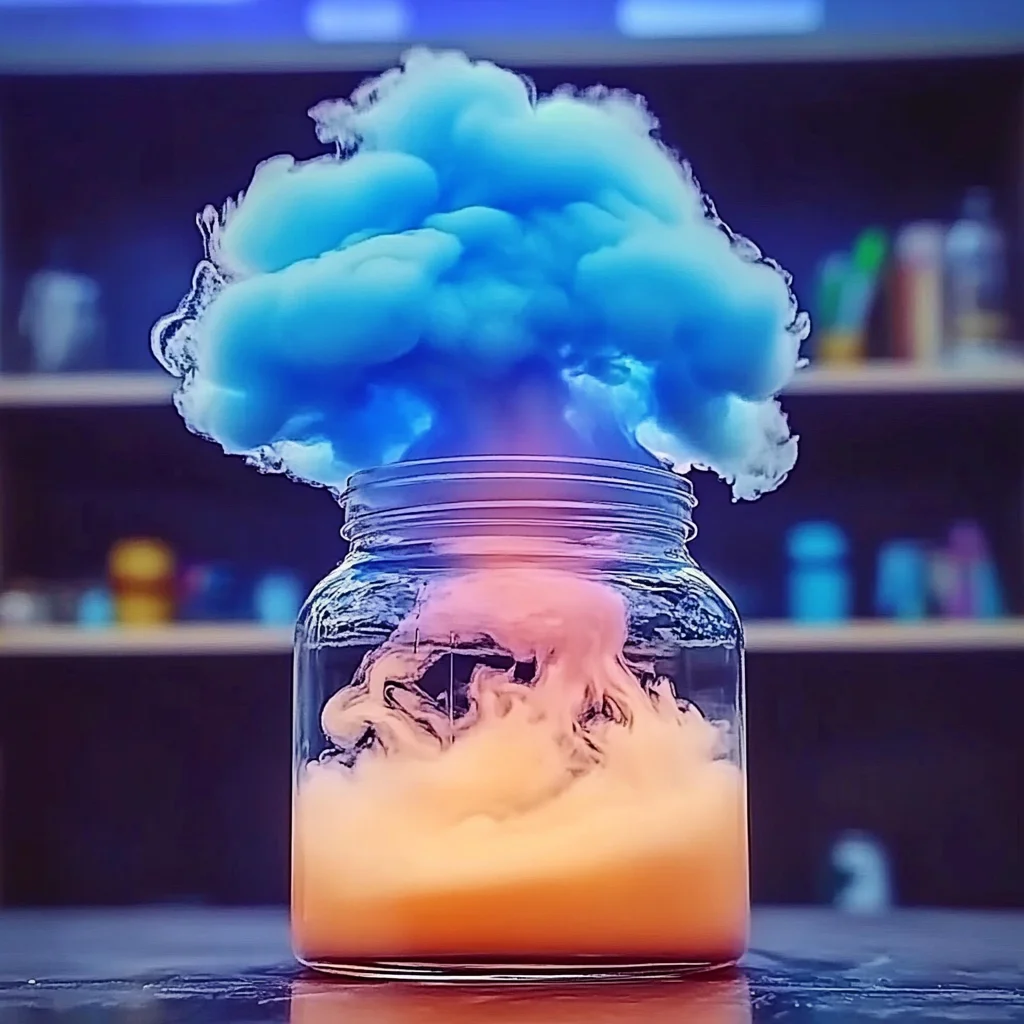
Have you ever looked up at the sky and marveled at the beauty of a fluffy white cloud? There’s something so enchanting about clouds, especially when they decide to let a little rain fall. Today, I want to take you on a delightful journey into the world of creativity and science with the Rain Cloud Experiment. This project is not only a wonderful way to introduce children to the science of weather but also a fantastic sensory experience that you can enjoy together. Picture yourself watching the vibrant blue colors cascade through the fluffy white “cloud” you’ve created. The joy of watching your very own rain cloud in action is magical and heartwarming, and it’s sure to spark curiosity and creativity in everyone involved.
Why You’ll Love Rain Cloud Experiment
- Beginner-friendly
- Budget-friendly
- Creative and fun
- Great for kids and families
- Perfect for gifts or decorations
- Customizable
The Heart Behind This DIY
Crafting is a beautiful way to connect with ourselves and those around us. The Rain Cloud Experiment encourages mindfulness as you engage in the process, focusing on the textures and colors. It allows you to explore the wonders of science while fostering creativity. I find that seeing the colors blend and the “rain” fall not only brings joy but also sparks fascinating conversations about weather patterns and the natural world. This project is a wonderful opportunity to build confidence, as each drop of color you add brings a sense of accomplishment. Plus, there’s nothing quite like sharing the excitement of discovery with family and friends.
A Gentle Look at the Process
As we embark on this creative journey, you can expect a delightful blend of science and art. You will start by filling a glass with water, which will serve as the foundation for your cloud. Then, you will layer shaving cream on top, creating a fluffy surface that mimics the clouds we see outside. With the addition of blue food coloring, you will bring your cloud to life, watching in awe as the “rain” falls through. This process is not just about creating a visual treat; it is about the experience of making something beautiful together.
Materials You’ll Need
- Shaving cream – to create the fluffy cloud effect
- Blue food coloring – to simulate rain
- Water – the base for your rain cloud
- Clear glass or jar – to hold your cloud and water
- Dropper or spoon – to add the colored water to the cloud
Step-by-Step Directions
Step 1
Start by filling your clear glass or jar about three-quarters full with water. The water will act as the base for your rain cloud, so take a moment to enjoy the calmness of the still water.
Step 2
Next, carefully add a generous layer of shaving cream on top of the water. This will create your fluffy cloud. As you do this, you might notice the sound of the shaving cream as it plops onto the surface. It’s wonderfully satisfying!
Step 3
In a separate container, mix a few drops of blue food coloring with a small amount of water. This is where the magic begins. The vibrant blue will represent the rain that falls from your cloud.
Step 4
Now, using a dropper or spoon, slowly add the colored water to the top of the shaving cream cloud. Take your time and watch as the colored water begins to seep through the shaving cream. It’s like watching a mini weather system unfold right before your eyes!
Creative Ways to Use Rain Cloud Experiment
Once your rain cloud is complete, you can display it as a fun educational decoration in your home. It makes a great centerpiece for a science-themed party or can even be a unique gift for a friend who loves both crafting and science. You might also consider using it as a beautiful teaching tool to explain weather patterns to kids. The possibilities are as endless as your imagination!
How to Store, Preserve, or Reuse Rain Cloud Experiment
If you want to preserve your creation for a little while, simply cover the glass or jar with plastic wrap and place it in the refrigerator. When you are ready to reuse it, just refresh the shaving cream layer and add new blue food coloring for another round of fun!
Creative Variations and Customizations
- Color variations – try different colors of food dye for a rainbow effect
- Theme ideas – create clouds for different seasons or holidays
- Seasonal adaptations – use shades of orange and yellow for a sunset effect
- Kid-friendly modifications – allow younger children to use their fingers to drop the colored water
- Advanced creative upgrades – mix in glitter for a sparkling rain effect
Tips for Success
- Common mistakes to avoid – be gentle when adding the shaving cream to avoid it mixing with the water
- Safety tips if applicable – supervise young children with the dropper to prevent spills
- Preparation suggestions – gather all materials before starting for a smoother experience
- Cleanup recommendations – use a towel to quickly wipe any spills
- Expert crafting tips – experiment with different amounts of shaving cream for varying cloud sizes
FAQs About Rain Cloud Experiment
Can beginners make this?
Absolutely! This project is perfect for beginners and families looking to have fun while learning.
Can children participate?
Yes, children can definitely join in on the fun! Just make sure an adult is there to help with the dropper and to supervise the process.
How long does it last?
Your rain cloud can last for a few hours to a day, depending on how much you play with it. Refreshing the materials will allow you to enjoy it again.
Can I customize it?
Yes! You can personalize your rain cloud with different colors and themes to make it even more special.
A Final Creative Note
As we wrap up this delightful journey into crafting and science, I hope you feel inspired to gather your materials and create your very own rain cloud. Remember, every drop of creativity brings joy and self-expression. Celebrate the beauty of making something with your hands, and don’t hesitate to share your creations with friends and family. For more delicious recipes, check out the best creamy baked mac and cheese or blueberry cheesecake swirl rolls recipe for treats you will love! Happy crafting!
For more DIY inspiration, follow our Pinterest account!