
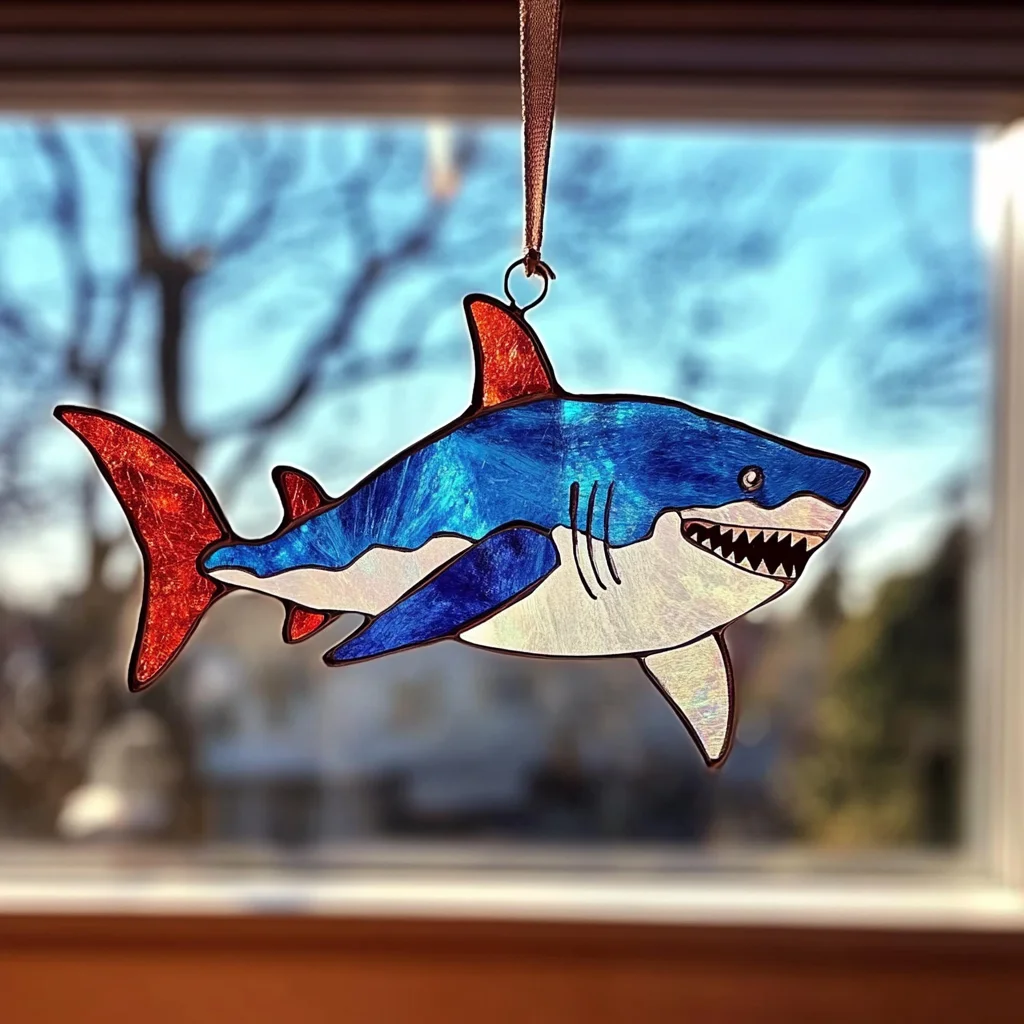
Ah, the joy of crafting! There’s something so magical about creating something beautiful with your own hands. Remember those sunny days when the light poured in through the window, casting rainbows across the room? That’s the feeling you’ll capture with this delightful DIY Shark Suncatcher Craft. Imagine a vibrant shark swimming in a sea of blue and green tissue paper, dancing in the light and bringing a splash of joy to your home. Whether you’re a seasoned crafter or just starting, this project is perfect for a cozy afternoon spent with loved ones, allowing you to explore your creativity while making something truly special.
Why You’ll Love Shark Suncatcher Craft
- Beginner-friendly
- Budget-friendly
- Creative and fun
- Great for kids and families
- Perfect for gifts or decorations
- Customizable
The Heart Behind This DIY
Crafting is more than just a fun activity; it’s a pathway to mindfulness and connection. As you cut, glue, and create, you’ll find yourself in a flow state, where worries drift away like clouds on a breezy day. This Shark Suncatcher Craft encourages you to slow down and immerse yourself in the colors and textures around you. It’s a fantastic way to bond with family, sharing laughter and stories as you work side by side. Plus, seeing your beautiful creation hanging in the window will bring a sense of pride, a reminder of your creativity and the joy of making something with love.
A Gentle Look at the Process
As you embark on this crafting journey, picture yourself gathering your materials and feeling the smooth texture of the plastic sheet beneath your fingers. You’ll start by carefully cutting out a shark shape, feeling the crisp paper as you snip away. Next, you’ll create a stunning ocean backdrop with vibrant tissue paper, each piece adding a splash of color. The process is simple yet fulfilling, allowing you to express your creativity while enjoying the tactile sensations of crafting. By the end, you’ll have a delightful suncatcher that radiates warmth and cheer in your home.
Materials You’ll Need
- Clear plastic sheet or transparency film – This will be your canvas for the suncatcher.
- Black construction paper – Used to create your shark shape.
- Blue and green tissue paper – These vibrant colors will form the ocean around your shark.
- Scissors – For cutting out your shark and tearing the tissue paper.
- Glue – To adhere everything together.
- Hole punch – For creating a spot to hang your suncatcher.
- String or fishing line – To hang your beautiful creation in the window.
Step-by-Step Directions
Step 1
Start by cutting a shark shape out of the black construction paper. Let your imagination run wild! You can create a friendly shark or a more fierce-looking one, whichever fits your style. The joy of crafting is in making it your own.
Step 2
Next, take your clear plastic sheet and lay it flat. This will serve as the base of your suncatcher. Think about how the light will shine through your design, illuminating the colors and creating a beautiful display.
Step 3
Apply glue to the back of your shark cutout and carefully place it onto the plastic sheet. Press gently to ensure it sticks well. Imagine the excitement as your shark begins to come to life!
Step 4
Now, it’s time for the fun part! Tear the blue and green tissue paper into small pieces. Feel the soft texture between your fingers as you create little bits of ocean waves and seaweed.
Step 5
Using glue, start placing the tissue paper pieces around your shark to create an ocean background. Let your creativity flow! You can layer the colors to give depth and dimension, making it feel like your shark is swimming in a vibrant sea.
Step 6
Once you’re happy with your ocean scene, allow the glue to dry completely. Take a moment to admire your work and imagine how it will look when the sunlight hits it just right.
Step 7
Use a hole punch to create a hole at the top of your suncatcher. This is where the string will go, so make sure it’s big enough to thread through easily.
Step 8
Thread a piece of string or fishing line through the hole and tie a knot to create a hanging loop. This is the final touch that will allow you to display your beautiful creation proudly.
Step 9
Finally, hang your shark suncatcher in a sunny window. Watch as the light filters through the colors, creating a stunning display that brightens your space and warms your heart.
Creative Ways to Use Shark Suncatcher Craft
Your shark suncatcher can be a delightful addition to any room. Hang it in a child’s bedroom to inspire their imagination or in a family room to bring a splash of color. It also makes a wonderful gift for a friend or family member who loves ocean themes. You could even create a series of sea creatures for a fun, themed display. Imagine a whole underwater scene dancing in the sunlight!
How to Store, Preserve, or Reuse Shark Suncatcher Craft
To preserve your suncatcher, keep it in a cool, dry place when not in use. If you plan to reuse materials, gently peel off the tissue paper and clean the plastic sheet. You can even create new designs with different colors and shapes whenever inspiration strikes!
Creative Variations and Customizations
- Color variations – Use different shades of blue, green, or even add some sparkly tissue paper for a magical touch.
- Theme ideas – Instead of a shark, create other sea creatures like dolphins, turtles, or even colorful fish.
- Seasonal adaptations – Change the colors for different seasons; warm hues for autumn or icy blues for winter.
- Kid-friendly modifications – Let kids choose their own shapes and colors to make it a personalized project.
- Advanced creative upgrades – Add glitter or sequins for an extra sparkle effect when the light hits them just right.
Tips for Success
- A common mistake is using too much glue; a little goes a long way in this project.
- If working with younger children, supervise them while using scissors to ensure safety.
- Prepare your workspace ahead of time to keep everything organized and make cleanup easier.
- After crafting, clean up any glue spills immediately to avoid messes later.
- Remember, the most important part is to have fun and enjoy the creative process!
FAQs About Shark Suncatcher Craft
Can beginners make this?
Absolutely! This project is designed with beginners in mind, making it easy to follow along and create something beautiful.
Can children participate?
Yes, this craft is perfect for children with adult supervision. They will love the vibrant colors and the creative process!
How long does it last?
With proper care, your suncatcher can last for a long time. Just keep it away from direct sunlight for extended periods to prevent fading.
Can I customize it?
Definitely! Feel free to experiment with colors, shapes, and themes to make it uniquely your own.
A Final Creative Note
As you wrap up your shark suncatcher craft, take a moment to reflect on the joy of creating something with your own hands. Remember, crafting is not just about the finished product; it’s about the memories made along the way. So gather your materials, let your creativity flow, and enjoy the wonderful world of DIY! For more delicious recipes, check out the blueberry cheesecake swirl rolls recipe or easy pineapple rum cocktail recipe for treats you will love!
If you’re looking for more inspiration, be sure to follow our Pinterest for endless DIY ideas and crafts!
Garlic Butter Chicken Bites with Creamy Parmesan Pasta
Equipment
- Large skillet
- Large Pot
- Tongs or Spatula
Ingredients
For the Garlic Butter Chicken Bites
- 1 lb boneless chicken breasts cut into bite-sized pieces
- 2 tbsp olive oil
- 3 tbsp unsalted butter
- 3 cloves garlic minced
For the Creamy Parmesan Pasta
- 12 oz fettuccine or linguine
- 1.5 cups heavy cream
- 1 cup Parmesan cheese grated
Instructions
- Step 1: Cook pasta in a large pot of salted water until al dente. Reserve 1/2 cup of pasta water. Drain and set aside.
- Step 2: In a skillet, heat olive oil over medium-high. Season chicken with paprika, Italian seasoning, salt, and pepper. Sear for 3-4 minutes per side until golden and cooked through. Remove and set aside.
- Step 3: In the same skillet, melt butter and add minced garlic. Saute for 1 minute. Return chicken to the pan and toss in garlic butter.
