Remember those magical summer evenings, maybe chasing fireflies or staying out just a little past bedtime? There’s something truly enchanting about things that sparkle and glow in the dark. Today, I want to share a little bit of that magic with you, but in bubble form! Get ready for smiles and giggles because we’re making glow-in-the-dark bubbles, and trust me, it’s way easier than you think. This isn’t just a fun craft; it’s an experience that creates core memories for you and your little ones.
Why You’ll Love Glow-in-the-Dark Bubbles
- Fast
- Easy
- Giftable
- Crowd-pleasing
- Creates magical memories
Ingredients
Gathering your ingredients for this glowing adventure is super simple. You probably have most of them around the house already!
- 1 highlighter (yellow or green): Make sure it’s a fluorescent color! Yellow and green tend to work best for that bright, glowing effect.
- 1/4 cup warm water: This is just to coax the glowy goodness out of the highlighter.
- UV blacklight: This is the secret sauce! You need a blacklight to make the glow visible. A flashlight-style one or even a blacklight bulb will work.
- Optional: small squirt of dish soap: A little extra soap can help make the bubbles stronger and last a bit longer, especially with the added liquid from the highlighter.
- 1 cup bubble solution (store-bought or homemade): Use your favorite kind! If you’re feeling ambitious or don’t have any on hand, you can whip up a quick batch.
If making homemade bubble solution (super easy!):
- 1 cup warm water
- 2 tbsp dish soap
- 1 tbsp corn syrup or sugar (optional, helps with bubble strength!)
How to Make Glow-in-the-Dark Bubbles
Alright, let’s get this glow party started! Making these is a fun little project in itself.
First things first, put on some gloves if you have them. This ink can stain! Carefully cut open the highlighter. You’re looking for the little felt tube inside that holds the ink. Remove this tube and place it in your 1/4 cup of warm water.
Let the felt tube soak for about 10 to 15 minutes. You’ll see the water start to turn that vibrant fluorescent color. Give it a little poke or swish around with a spoon to help the ink release. Once the water is a bright, intense color, you can discard the felt tube.
Now, combine this glowing colored water with your 1 cup of bubble solution in a clean container. If you’re using the optional extra squirt of dish soap, add it now too.
Stir everything gently to mix. You want to avoid creating too much foam right now, as that can make it harder to blow bubbles.
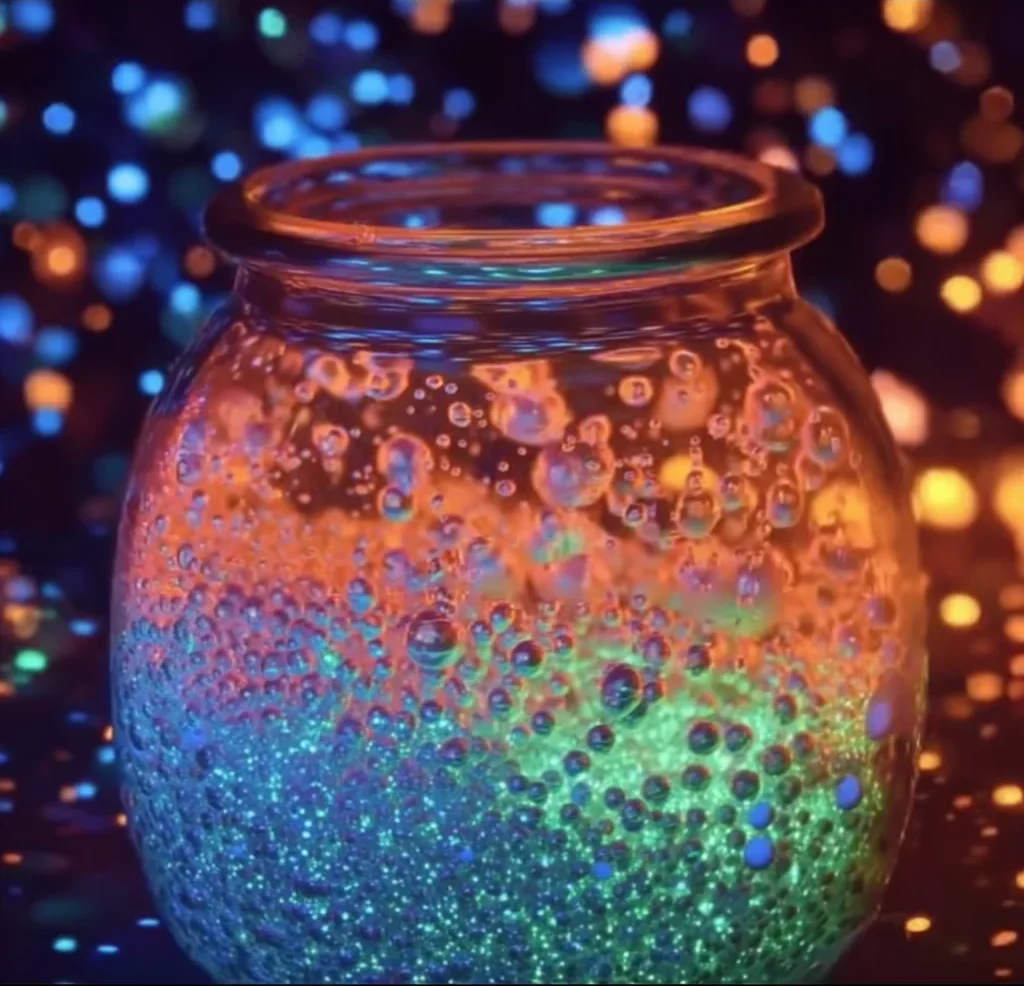
That’s it! Your glow-in-the-dark bubble solution is ready. To see the magic happen, you’ll need to be in a dark or dimly lit environment and shine your UV blacklight on the bubbles as you blow them. Prepare for squeals of delight!

Substitutions & Additions
Want to play around with this recipe? Here are a few ideas!
- Different Colors: While yellow and green highlighters glow brightest under blacklight, you can experiment with others. Just know the glow might be less intense.
- Extra Sparkle: For daytime fun (or even under the blacklight), you could try adding a tiny pinch of ultra-fine glitter to the solution. Just be careful it doesn’t clog your bubble wand!
- Scented Fun: A drop or two of kid-safe extract like vanilla or strawberry could add a fun scent dimension.
Tips for Success
Making the best glow bubbles is easy, but a few pointers can help!
- Gloves are Your Friend: I mentioned it before, but seriously, highlighter ink is potent stuff! Protect your hands and surfaces.
- Be Patient with the Soak: Let that felt tube really sit in the warm water to get the most concentrated color.
- Gentle Stirring: Foam equals fewer bubbles. Stir just enough to combine.
- Test Your Blacklight: Not all “UV” lights are created equal. Make sure yours is strong enough by testing it on the colored water before you mix it into the bubble solution.
- Darkness is Key: The glow effect is only visible in the dark or under very dim lighting conditions when the blacklight is shining on the bubbles. Try it outside at dusk or in a darkened room!
- Clean Your Wand: If you’re reusing a wand, make sure it’s clean before dipping it into your glowing solution.
- Alternative Projects: If you enjoy simple, fun crafts, you might also like making DIY bioplastic suncatchers or maybe even whipping up some easy edible aquariums for the kids!
How to Store Glow-in-the-Dark Bubbles
Just like regular bubble solution, you can store your glow-in-the-dark version in a clean, airtight container at room temperature. A recycled plastic bottle or a jar works perfectly. It should last just as long as your original bubble solution would, typically several months, as long as it doesn’t get contaminated.
FAQs
Got questions? I’ve got answers!
Q: Is this safe for kids?
A: Yes, the amount of ink used is minimal and diluted in bubble solution. However, always supervise children during activities like this, and remind them not to drink the bubble solution.
Q: Why isn’t it glowing?
A: Make sure you are in a dark environment and shining a true UV blacklight directly on the bubbles. Regular flashlights or just dim light won’t make it glow.
Q: Can I use other colors of highlighters?
A: Yellow and green are the most fluorescent and give the best glow under blacklight. Other colors might not show up as well.
Q: Will it stain?
A: The ink is diluted, but it can potentially stain clothes or surfaces, especially if spilled before being mixed into the full bubble solution. Wear old clothes and protect your area!
Follow us on Pinterest for more fun recipes and ideas!
DIY Glow-in-the-Dark Bubbles
Equipment
- Container
- spoon
- Gloves
- UV blacklight
- Bubble wand
Ingredients
For the Glow Bubbles
- 1 highlighter yellow or green fluorescent
- 1/4 cup warm water for soaking
- 1 UV blacklight needed for glow
- small squirt of dish soap optional, helps make bubbles stronger
- 1 cup bubble solution store-bought or homemade
If making homemade bubble solution (Optional)
- 1 cup warm water
- 2 tbsp dish soap
- 1 tbsp corn syrup or sugar optional, helps with bubble strength
Instructions
- Step 1: Put on gloves. Carefully cut open the highlighter and remove the felt tube inside. Place the tube in your 1/4 cup of warm water.
- Step 2: Let the felt tube soak for about 10 to 15 minutes, occasionally poking or swishing, until the water turns a vibrant fluorescent color. Discard the felt tube.
- Step 3: In a clean container, combine the glowing colored water with your 1 cup of bubble solution. If using, add the optional small squirt of dish soap.
- Step 4: Stir everything gently to mix, avoiding creating too much foam.
- Step 5: To see the glow, go to a dark or dimly lit environment and shine your UV blacklight on the bubbles as you blow them.