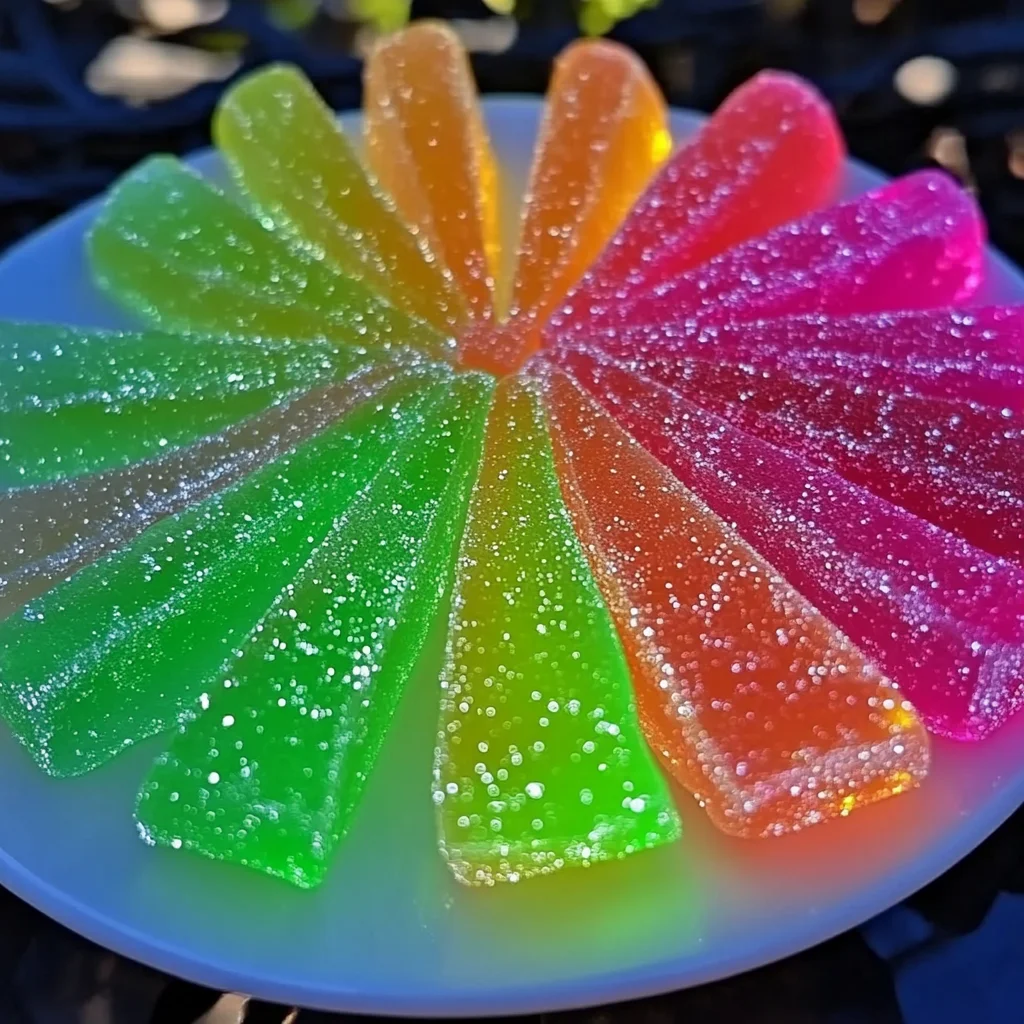
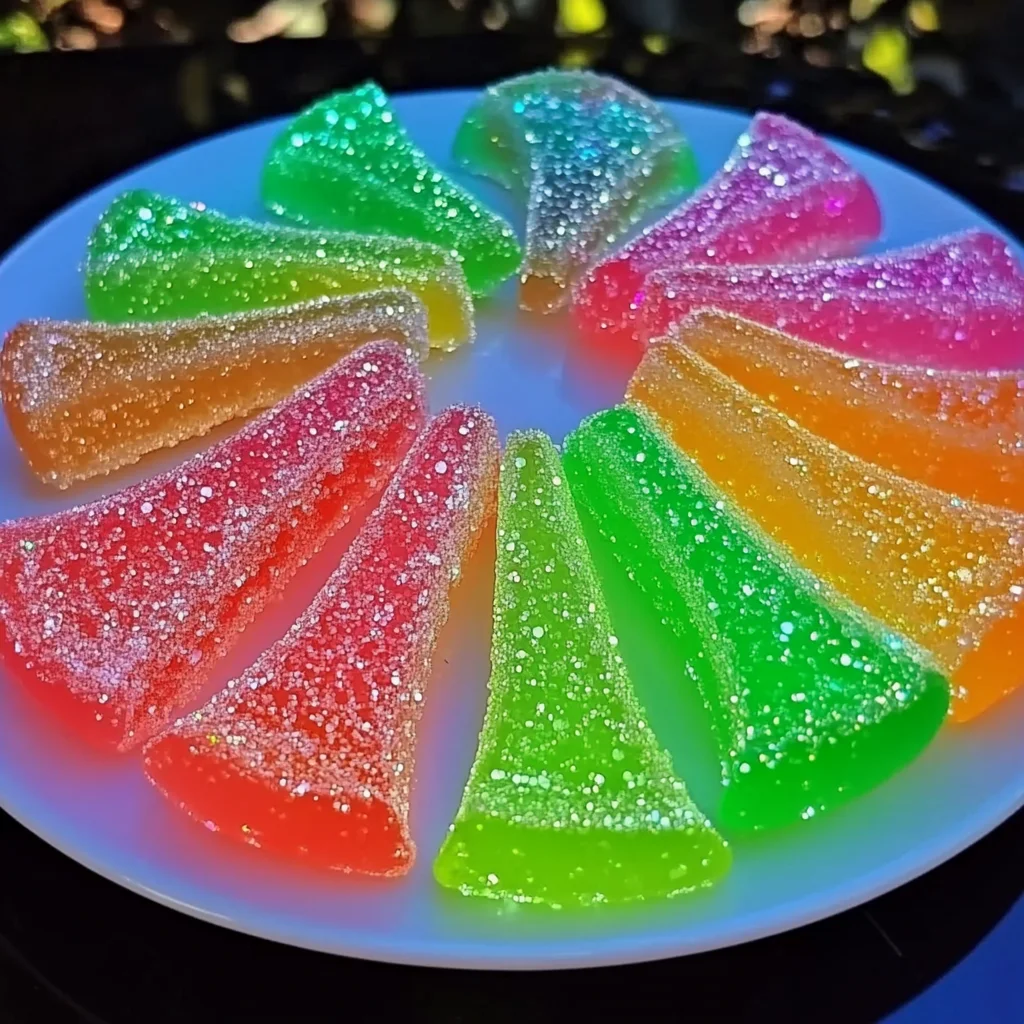
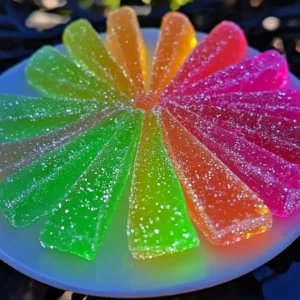
Oh, remember those magical, shimmering treats from childhood? The ones that seemed to hold a secret sparkle, especially under dim light? Well, get ready to recapture that wonder because we’re about to make something truly special: Glow-in-the-Dark Jolly Rancher Candy Apple Slices! These aren’t just a treat; they’re a delightful blast from the past, super easy to whip up, and guaranteed to put a smile on everyone’s face. Perfect for parties, Halloween, or just a fun afternoon project, these candy apple slices are pure joy in every bite.
Why You’ll Love Glow-in-the-Dark Jolly Rancher Candy Apple Slices
- Fast & Easy: Seriously, you can have these ready in a flash!
- Incredibly Giftable: Package them up for a unique and festive present.
- Unforgettable Flavor: The tartness of the apple with the sweet, fruity candy is a classic combo.
- Total Crowd-Pleaser: From kids to adults, everyone will be asking for more.
- Magical Glow: The tonic water and blacklight combo is pure enchantment!
Ingredients
Gathering your ingredients is half the fun! Here’s what you’ll need:
- 3–4 large Granny Smith apples: Their tartness is the perfect balance to the sweet candy coating.
- 1 (14 oz) bag Jolly Rancher hard candies, assorted flavors: Grab your favorites! The more colors, the more fun.
- 1–2 tsp tonic water: This is our secret ingredient for that amazing glow!
- 1/4 cup corn syrup: Helps create that smooth, glossy candy coating.
- 1/4 cup water: To get our candy mixture to the perfect consistency.
- Candy thermometer: Essential for getting that ideal hard crack stage.
- Lollipop sticks or skewers: For easy handling and that classic candy apple look.
- Parchment paper or silicone mat: To prevent sticking and make cleanup a breeze.
- Blacklight: To reveal the magical glow!
How to Make Glow-in-the-Dark Jolly Rancher Candy Apple Slices
Alright, let’s get our aprons on and dive into making these dazzling treats!
-
Prep Your Apples
First things first, give those apples a good wash and make sure they are super dry. This helps the candy stick better. Slice each apple into nice, thick wedges – think about 1-inch thick pieces. Carefully insert a lollipop stick or skewer into the fatter end of each apple slice. Lay these prepared beauties on a tray lined with parchment paper or a silicone mat. This is where they’ll rest while we work our candy magic.
-
Crush Those Candies!
Time to unwrap all those colorful Jolly Ranchers. You want to crush them into small pieces. A food processor works wonders here, or you can pop them into a sturdy zip-top bag and give them a good whack with a rolling pin. The finer the pieces, the smoother your candy coating will be.
-
Cook the Candy Coating
In a medium saucepan, combine your crushed Jolly Ranchers, corn syrup, and water. Place it over medium-high heat, stirring gently until all the candies have melted and the mixture is smooth. Now, this is where your candy thermometer comes in. Clip it to the side of the pan so the tip is submerged in the syrup but not touching the bottom. Keep an eye on it and let it boil, undisturbed, until it reaches 300°F (that’s the “hard crack” stage). This is crucial for that perfect brittle candy shell. Once it hits 300°F, carefully remove the saucepan from the heat. Now, stir in the tonic water. You might see a slight fizz or reaction – that’s totally normal!
-
Dip Away!
This step moves quickly, so have your apple slices ready! Working one by one, dip each apple slice into the hot candy mixture. Give it a gentle swirl to coat it evenly. Let any excess candy drip back into the saucepan for a few seconds before carefully placing the coated apple slice back onto your prepared parchment paper. Repeat this with all your apple slices.
-
Let Them Harden
Now comes the patient part – letting them cool and harden completely. Just leave them at room temperature on the parchment paper. Resist the urge to touch them! This usually takes about 20-30 minutes, but you’ll know they’re ready when the candy shell is completely firm.
-
Activate the Glow!
The moment of truth! Grab your blacklight and shine it on your beautiful candy apple slices. Watch in amazement as they start to glow! It’s a truly magical effect that will wow everyone.
Substitutions & Additions
Want to jazz things up even more? You can totally customize these:
- Different Apples: While Granny Smith offers a lovely tartness, you could try Honeycrisp or Fuji apples for a sweeter base.
- Other Candies: While Jolly Ranchers are fantastic, you could experiment with other hard candies like Lifesavers or even colorful butterscotch candies. Just be mindful of how they melt.
- Edible Glitter: For an extra touch of sparkle, you could sprinkle a little edible glitter over the wet candy coating before it hardens.
- Flavor Extracts: A tiny drop of peppermint or berry extract added with the tonic water can give an extra flavor boost.
Tips for Success
A few little tricks to make sure your candy apple slices turn out perfectly:
- Humidity is the Enemy: Try to make these on a dry day. High humidity can make the candy coating sticky and difficult to harden.
- Don’t Overcrowd: Make sure your apple slices aren’t touching each other on the parchment paper, or they might stick together as they harden.
- Safety First: Hot sugar is very hot. Always handle the candy mixture with care, and keep children at a safe distance during the cooking and dipping process.
- Prep Ahead: You can slice and stick your apples a few hours in advance and keep them covered in the fridge.
- Clean Up Tip: Soak your saucepan in hot water after you’re done. The hardened candy will dissolve, making cleanup much easier. For extra tough bits, try this simple simple violet sugar recipe trick for scrubbing.
How to Store Glow-in-the-Dark Jolly Rancher Candy Apple Slices
Once they’ve cooled completely, you can store these beauties in an airtight container at room temperature. They are best enjoyed within 1-2 days for the freshest texture, but they’ll hold up for a few days. If you live in a very humid climate, you might want to store them in the refrigerator, but be aware they might get a little sticky.
FAQs
- Why don’t my candy apple slices glow? Make sure you’re using tonic water, as the quinine in it is what reacts with the blacklight. Also, ensure your blacklight is strong enough and that the room is dark enough to see the glow effectively.
- Can I use different fruits? Yes, you absolutely can! Pear slices or even firm fruits like pineapple chunks on skewers could work, but apples are the classic choice for their firmness and tartness.
- What if my candy gets too thick? If the candy mixture starts to harden in the pan before you’re finished dipping, you can gently reheat it over low heat for a minute or two to loosen it up.
These Glow-in-the-Dark Jolly Rancher Candy Apple Slices are more than just a recipe; they’re an invitation to play and create magic in your kitchen. They’re perfect for adding a touch of enchantment to any occasion, much like the delightful surprises you can find in our easy edible aquarium or the fun of making glow-in-the-dark bubbles. Happy glowing!
If you loved this recipe, be sure to follow us on Pinterest for even more delicious and fun ideas!
Glow-in-the-Dark Jolly Rancher Candy Apple Slices
Equipment
- Food processor or rolling pin
- Medium saucepan
- Candy thermometer
- Lollipop sticks or skewers
- Parchment paper or silicone mat
- Blacklight
- Tray
Ingredients
- 3–4 large Granny Smith apples tartness is the perfect balance to the sweet candy coating
- 1 (14 oz) bag Jolly Rancher hard candies, assorted flavors grab your favorites! The more colors, the more fun.
- 1–2 tsp tonic water secret ingredient for that amazing glow!
- 1/4 cup corn syrup helps create that smooth, glossy candy coating.
- 1/4 cup water to get our candy mixture to the perfect consistency.
- lollipop sticks or skewers for easy handling and that classic candy apple look.
- parchment paper or silicone mat to prevent sticking and make cleanup a breeze.
- blacklight to reveal the magical glow!
Instructions
- First things first, give those apples a good wash and make sure they are super dry. This helps the candy stick better. Slice each apple into nice, thick wedges – think about 1-inch thick pieces. Carefully insert a lollipop stick or skewer into the fatter end of each apple slice. Lay these prepared beauties on a tray lined with parchment paper or a silicone mat. This is where they'll rest while we work our candy magic.
- Time to unwrap all those colorful Jolly Ranchers. You want to crush them into small pieces. A food processor works wonders here, or you can pop them into a sturdy zip-top bag and give them a good whack with a rolling pin. The finer the pieces, the smoother your candy coating will be.
- In a medium saucepan, combine your crushed Jolly Ranchers, corn syrup, and water. Place it over medium-high heat, stirring gently until all the candies have melted and the mixture is smooth. Now, this is where your candy thermometer comes in. Clip it to the side of the pan so the tip is submerged in the syrup but not touching the bottom. Keep an eye on it and let it boil, undisturbed, until it reaches 300°F (that’s the “hard crack” stage). This is crucial for that perfect brittle candy shell. Once it hits 300°F, carefully remove the saucepan from the heat. Now, stir in the tonic water. You might see a slight fizz or reaction – that’s totally normal!
- This step moves quickly, so have your apple slices ready! Working one by one, dip each apple slice into the hot candy mixture. Give it a gentle swirl to coat it evenly. Let any excess candy drip back into the saucepan for a few seconds before carefully placing the coated apple slice back onto your prepared parchment paper. Repeat this with all your apple slices.
- Now comes the patient part – letting them cool and harden completely. Just leave them at room temperature on the parchment paper. Resist the urge to touch them! This usually takes about 20-30 minutes, but you'll know they're ready when the candy shell is completely firm.
- The moment of truth! Grab your blacklight and shine it on your beautiful candy apple slices. Watch in amazement as they start to glow! It’s a truly magical effect that will wow everyone.