
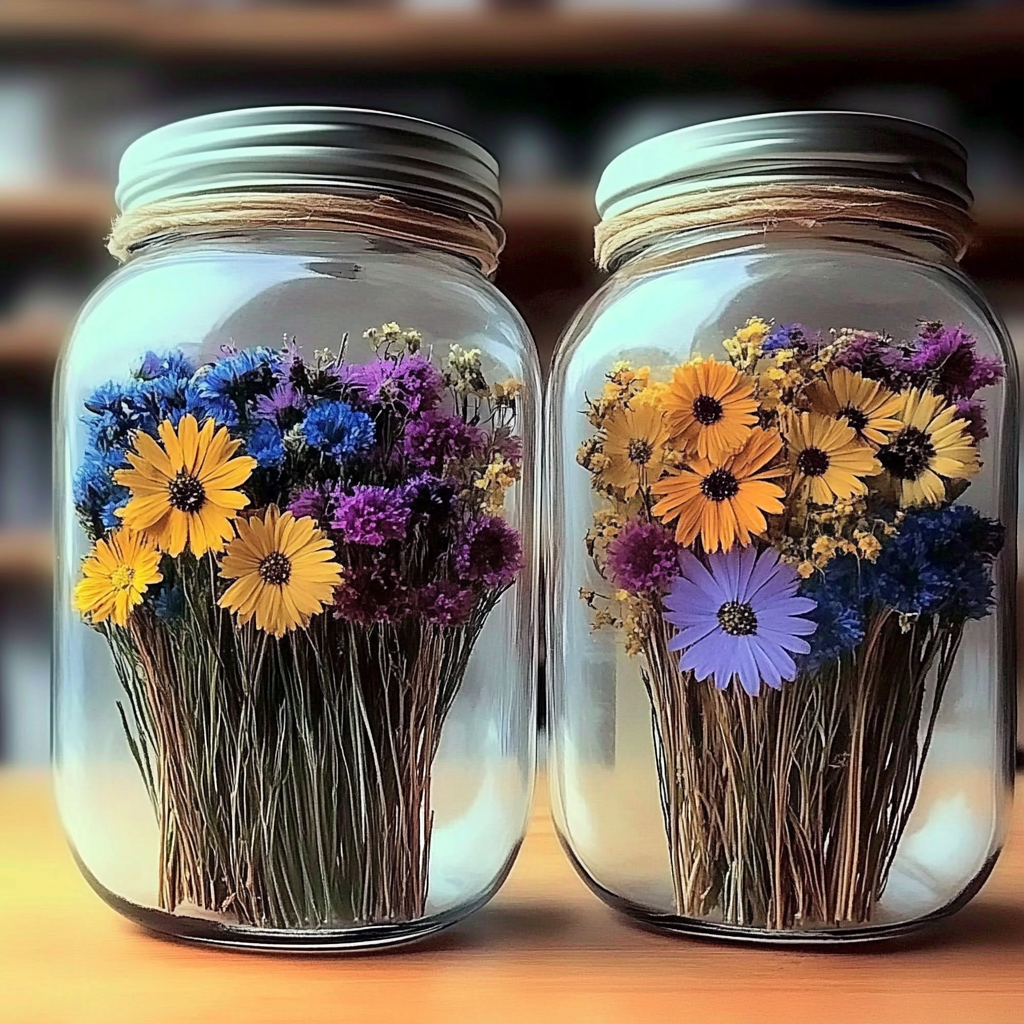
Have you ever picked a flower and wished you could hold onto its beauty forever? There’s something magical about capturing nature in a way that allows you to relive those sunny moments whenever you want. Making pressed flowers is a delightful DIY project that not only preserves the beauty of blooms but also invites creativity into your home. Imagine the vibrant colors and delicate textures of your favorite flowers, transformed into stunning art pieces that can brighten any room.
Why You’ll Love How to Make Pressed Flowers
- Beginner-friendly
- Budget-friendly
- Creative and fun
- Great for kids and families
- Perfect for gifts or decorations
- Customizable
The Heart Behind This DIY
Creating pressed flowers is a lovely way to connect with nature and nurture your creative spirit. The process encourages mindfulness as you select flowers, arrange them, and wait for their transformation. Each step allows you to slow down, appreciate the beauty around you, and express your individuality through art. Plus, using flowers that hold special memories, like those from a wedding or a family outing, makes the final product even more meaningful. It’s not just about the finished piece; it’s about the journey of creating something unique and personal.
A Gentle Look at the Process
As you embark on this floral adventure, you can expect a calming experience filled with vibrant colors and delightful scents. You’ll start by choosing fresh flowers, perhaps from your garden or a local market, and then guide them through the pressing process. The anticipation builds as you wait for the flowers to dry and flatten, ultimately revealing their preserved beauty. It’s a simple yet profound experience that brings joy and satisfaction.
Materials You’ll Need
- Fresh flowers: Select flowers that are not overly wet or wilting for the best results.
- Heavy books or a flower press: These will help flatten and dry the flowers effectively.
- Parchment paper or wax paper: Use these to protect the flowers during the pressing process.
- Scissors (optional): Trim the stems of the flowers if necessary for a better arrangement.
Step-by-Step Directions
Step 1
Begin by selecting fresh flowers. Look for blooms that are vibrant and not overly wet or wilting. If needed, trim the stems to allow for better placement.
Step 2
Arrange the flowers flat between two pieces of parchment paper or wax paper. Take your time to create a pleasing layout; this is where your creativity shines!
Step 3
Place the parchment paper with the flowers inside a heavy book or a flower press. If using a book, make sure to close it tightly and add some additional weight on top to ensure even pressing.
Step 4
Leave the flowers to press for 1 to 2 weeks. During this time, check periodically to see how they are drying. The anticipation is part of the fun!
Step 5
Once the flowers are fully dried and pressed, carefully remove them from the paper. Take a moment to appreciate their beauty before moving on to the next step.
Step 6
Now it’s time to unleash your creativity! Use the pressed flowers for crafting, decorating, or framing as desired. They can enhance anything from cards to wall art.
Creative Ways to Use How to Make Pressed Flowers
The possibilities are endless when it comes to displaying your pressed flowers. Here are a few ideas to spark your imagination:
- Create beautiful greeting cards with your pressed flowers for a personal touch.
- Frame a collection of pressed flowers for a stunning wall display that captures nature’s beauty.
- Add them to scrapbook pages as a lovely memento of special occasions.
- Use them to embellish gift wrap or homemade gifts for friends and family.
How to Store, Preserve, or Reuse How to Make Pressed Flowers
To keep your pressed flowers looking fresh, store them in a cool, dry place away from direct sunlight. If you want to reuse them for future projects, consider placing them between sheets of wax paper and storing them in a flat container. This helps prevent them from crumbling and keeps their colors vibrant.
Creative Variations and Customizations
- Explore color variations by using different types of flowers.
- Choose a theme, like seasonal flowers or blooms from a specific garden.
- Adapt your designs for seasonal celebrations, using fall leaves or spring blossoms.
- Engage kids by letting them choose and arrange their favorite flowers.
- For advanced crafters, try adding glitter or other embellishments to your pressed flowers.
Tips for Success
- Avoid overly thick flowers, as they may not press well.
- Ensure your flowers are dry to prevent mold during the pressing process.
- Prepare a clean workspace to keep your materials organized.
- After creating your pressed flower art, clean up promptly to avoid any mess.
- Remember, patience is key! Good things take time, and your flowers will be worth the wait.
FAQs About How to Make Pressed Flowers
Can beginners make this?
Absolutely! This project is perfect for beginners of all ages, and the steps are simple to follow.
Can children participate?
Yes! Kids will love picking flowers and arranging them, making this a fun family activity.
How long does it last?
Pressed flowers can last for years if stored properly, keeping their beauty intact.
Can I customize it?
Definitely! You can choose your favorite flowers and colors to create something truly personal.
A Final Creative Note
As you embark on your pressed flower journey, remember that creativity is a beautiful form of self-expression. Each flower tells a story, and by preserving them, you keep those memories alive. I hope you find joy in the process of crafting and let your imagination bloom. For more delicious recipes, check out Blueberry Cheesecake Swirl Rolls or Homemade Italian Lemon Jam for treats you will love! For even more DIY inspiration, be sure to follow Pinterest.
How to Make Pressed Flowers
Equipment
- Heavy Books or Flower Press
- Scissors
- Tweezers
Ingredients
For the Pressed Flowers
- fresh flowers choose flat, non-fibrous blooms
- parchment paper or blotter paper for pressing
- heavy books or a flower press for applying even pressure
- frame or display board optional for displaying finished flowers
Instructions
- Step 1: Select fresh flowers that are relatively flat and non-fibrous, such as daisies, pansies, or violets. Trim away excess stems and leaves with scissors.
- Step 2: Place a sheet of parchment paper or blotter paper on a flat surface. Arrange the flowers face down with enough space between them so they do not overlap.
- Step 3: Cover the flowers with another sheet of parchment paper or blotter paper. Place them inside a heavy book or flower press and apply even pressure. Leave them undisturbed for approximately 1 to 2 weeks.
- Step 4: After the pressing period, carefully remove the flowers using tweezers if needed. Check that they are completely dry, crisp, and flat before handling them extensively.
- Step 5: Arrange the pressed flowers in a frame, scrapbook, handmade card, bookmark, or display board. Once your composition is complete, carefully secure the flowers with a small amount of suitable craft glue.
