
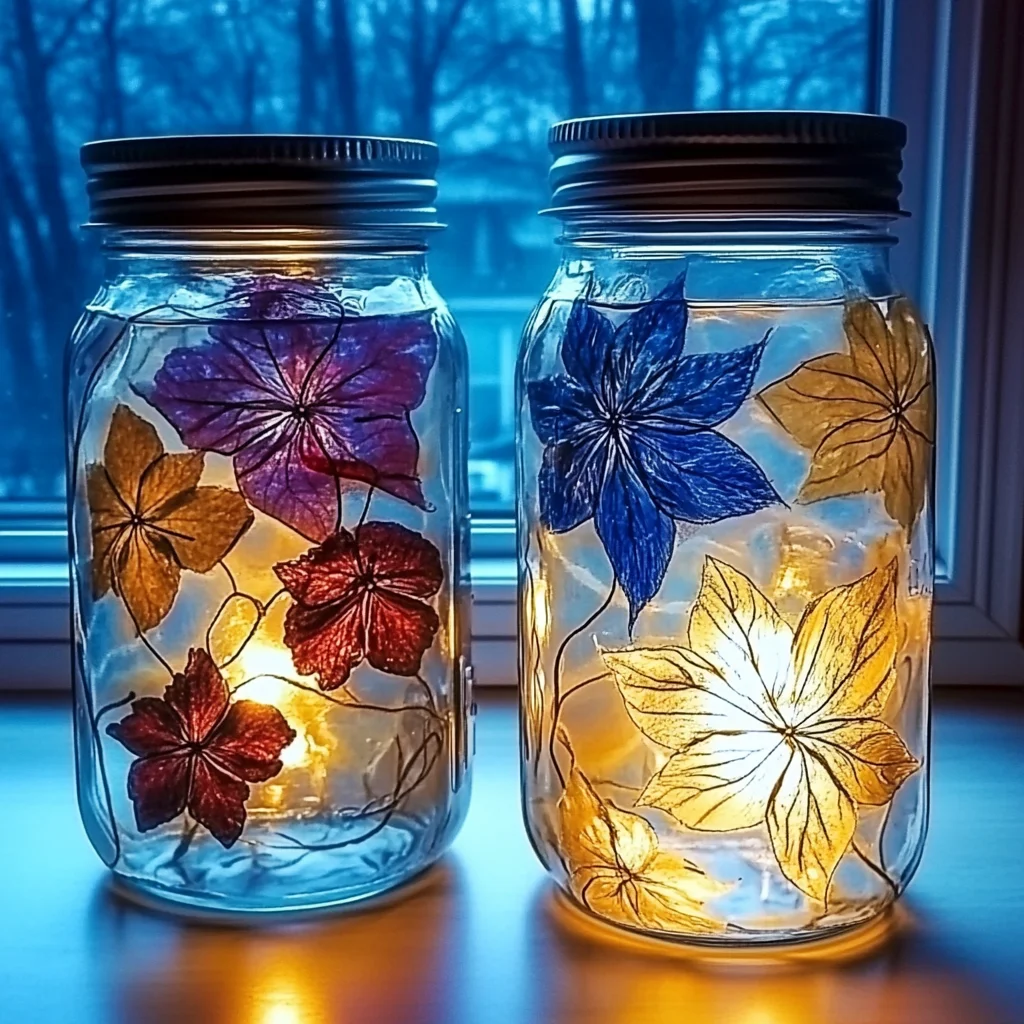
Have you ever felt overwhelmed by the chaos of everyday life? Sometimes, all we need is a little moment of tranquility to breathe and reset. That’s where DIY Calm Down Jars come in! These enchanting creations are not only visually captivating but also serve as wonderful tools for mindfulness and relaxation. Imagine gently shaking your jar and watching as the glitter dances and swirls, slowly settling down to create a serene space in your mind. It’s a simple yet magical process that brings joy to both kids and adults alike.
Why You’ll Love DIY Calm Down Jars
- Beginner-friendly
- Budget-friendly
- Creative and fun
- Great for kids and families
- Perfect for gifts or decorations
- Customizable
The Heart Behind This DIY
Creating Calm Down Jars is more than just a fun craft; it’s a journey into self-care and mindfulness. As you craft, you engage with soothing colors and textures, inviting a sense of calm into your space. This project encourages creativity and connection, making it a perfect activity for families to do together. Plus, watching the glitter settle can be incredibly therapeutic, helping to ground us when life feels a little too hectic. It’s a delightful reminder that it’s okay to take a moment for yourself, to breathe deeply, and to find peace amidst the busy world.
A Gentle Look at the Process
As you embark on this crafting adventure, you will find yourself surrounded by the calming sounds of water and the soft rustle of glitter. The process is simple yet fulfilling. You will start by filling your jar with water and a splash of creativity, adding glue, glitter, and perhaps a hint of color. Each step invites you to be present, to feel the textures and watch the transformation unfold. It’s not just about the end result; it’s about enjoying each moment of creation.
Materials You’ll Need
- Clear glass or plastic jar with a lid: This will be your canvas for creativity.
- Water: The base of your calming concoction.
- Glitter (various colors): For that magical sparkle!
- Clear glue or glycerin: This helps the glitter move slowly.
- Food coloring (optional): To add a splash of color.
- Small figurines or objects (optional): Personal touches that make your jar unique.
Step-by-Step Directions
Step 1
Start by filling your jar about 3/4 full with water. As you pour, listen to the gentle sound of water filling the vessel, setting the stage for your calm down jar.
Step 2
Add 1-2 tablespoons of clear glue or glycerin to the water and stir until it’s well combined. This step is crucial as it will help the glitter to move slowly and gracefully. Take a moment to appreciate the transformation as the water becomes slightly thicker and more magical!
Step 3
If you’d like to add some color, pour in a few drops of your chosen food coloring and mix thoroughly. Watch as the colors swirl beautifully through the water, adding a delightful visual element to your jar.
Step 4
Now comes the fun part! Pour in the glitter until the jar is filled to your desired level of sparkle. I love mixing different colors to create a dazzling effect—let your imagination run wild!
Step 5
If you’re using small figurines or objects, now is the time to add them in. These little treasures can personalize your jar and make it even more special.
Step 6
Fill the remainder of the jar with water, leaving a small space at the top to prevent overflow when you secure the lid. This step is essential to ensure your jar remains intact and mess-free.
Step 7
Secure the lid tightly on the jar, ensuring it’s sealed well. This is where the anticipation builds—you’re almost done!
Step 8
Gently shake the jar to mix the contents. Take a moment to watch the glitter swirl and settle. Enjoy the calming effect it brings as you breathe deeply and let go of any stress.
Creative Ways to Use DIY Calm Down Jars
Once your Calm Down Jar is complete, the possibilities are endless! You can display it on a shelf as a beautiful decoration, use it during mindfulness activities, or gift it to a friend in need of some peace. These jars can also serve as a sensory tool for children, helping them to calm down during overwhelming moments. I love to keep mine on my desk as a gentle reminder to pause and breathe when things get hectic!
How to Store, Preserve, or Reuse DIY Calm Down Jars
To keep your Calm Down Jar looking its best, store it in a cool, dry place, away from direct sunlight. If you ever want to change things up, simply pour the contents into a bowl, add different glitter or decorations, and create a whole new jar! The beauty of crafting is that it’s always evolving.
Creative Variations and Customizations
- Color variations: Experiment with different color combinations to match your mood or decor.
- Theme ideas: Create seasonal jars with autumn leaves or winter snowflakes.
- Seasonal adaptations: Use holiday-themed items for a festive touch.
- Kid-friendly modifications: Let kids choose their favorite colors and objects for a personal touch.
- Advanced creative upgrades: Add essential oils for a sensory experience or use glow-in-the-dark glitter for nighttime magic!
Tips for Success
- Avoid overfilling your jar to ensure the lid can close properly.
- Make sure to supervise children if they are using small objects or glitter.
- Gather all your materials before starting to keep the process smooth.
- Clean up any glitter spills immediately for easier cleanup later.
- Don’t be afraid to experiment—your jar can be as unique as you are!
FAQs About DIY Calm Down Jars
Can beginners make this?
Absolutely! This project is perfect for beginners and can be tailored to different skill levels.
Can children participate?
Yes, kids can absolutely get involved! Just ensure that an adult supervises the use of small objects and materials.
How long does it last?
With proper sealing, your Calm Down Jar can last indefinitely. Just be mindful of keeping it out of direct sunlight to prevent fading.
Can I customize it?
Definitely! Personalizing your jar with colors, themes, or objects makes it even more special.
A Final Creative Note
As you complete your DIY Calm Down Jar, take a moment to celebrate your creativity and the joy of crafting. Each jar you create is a reflection of your unique self, a tangible reminder that taking time for yourself is important. So, gather your materials, let your imagination soar, and enjoy the soothing process of creation. For more delightful recipes, check out the scrumptious blueberry cheesecake swirl rolls or easy key lime pie cookies for treats you will love!
And remember, if you’re looking for more DIY inspiration, be sure to follow Pinterest for endless creative ideas!
DIY Calm Down Jars
Equipment
- Clear glass or plastic jar with a lid
- spoon
Ingredients
For the Calm Down Jar
- 1 jar water to fill the jar
- 1-2 tbsp clear glue or glycerin to help the glitter move slowly
- as desired tbsp glitter various colors for sparkle
- a few drops food coloring optional for color
- as desired small figurines or objects optional for personalization
Instructions
- Step 1: Fill your jar about 3/4 full with water.
- Step 2: Add 1-2 tablespoons of clear glue or glycerin to the water and stir until well combined.
- Step 3: Pour in a few drops of food coloring and mix thoroughly.
- Step 4: Pour in the glitter until the jar is filled to your desired level of sparkle.
- Step 5: Add small figurines or objects if desired.
- Step 6: Fill the remainder of the jar with water, leaving a small space at the top.
- Step 7: Secure the lid tightly on the jar.
- Step 8: Gently shake the jar to mix the contents and watch the glitter swirl and settle.
