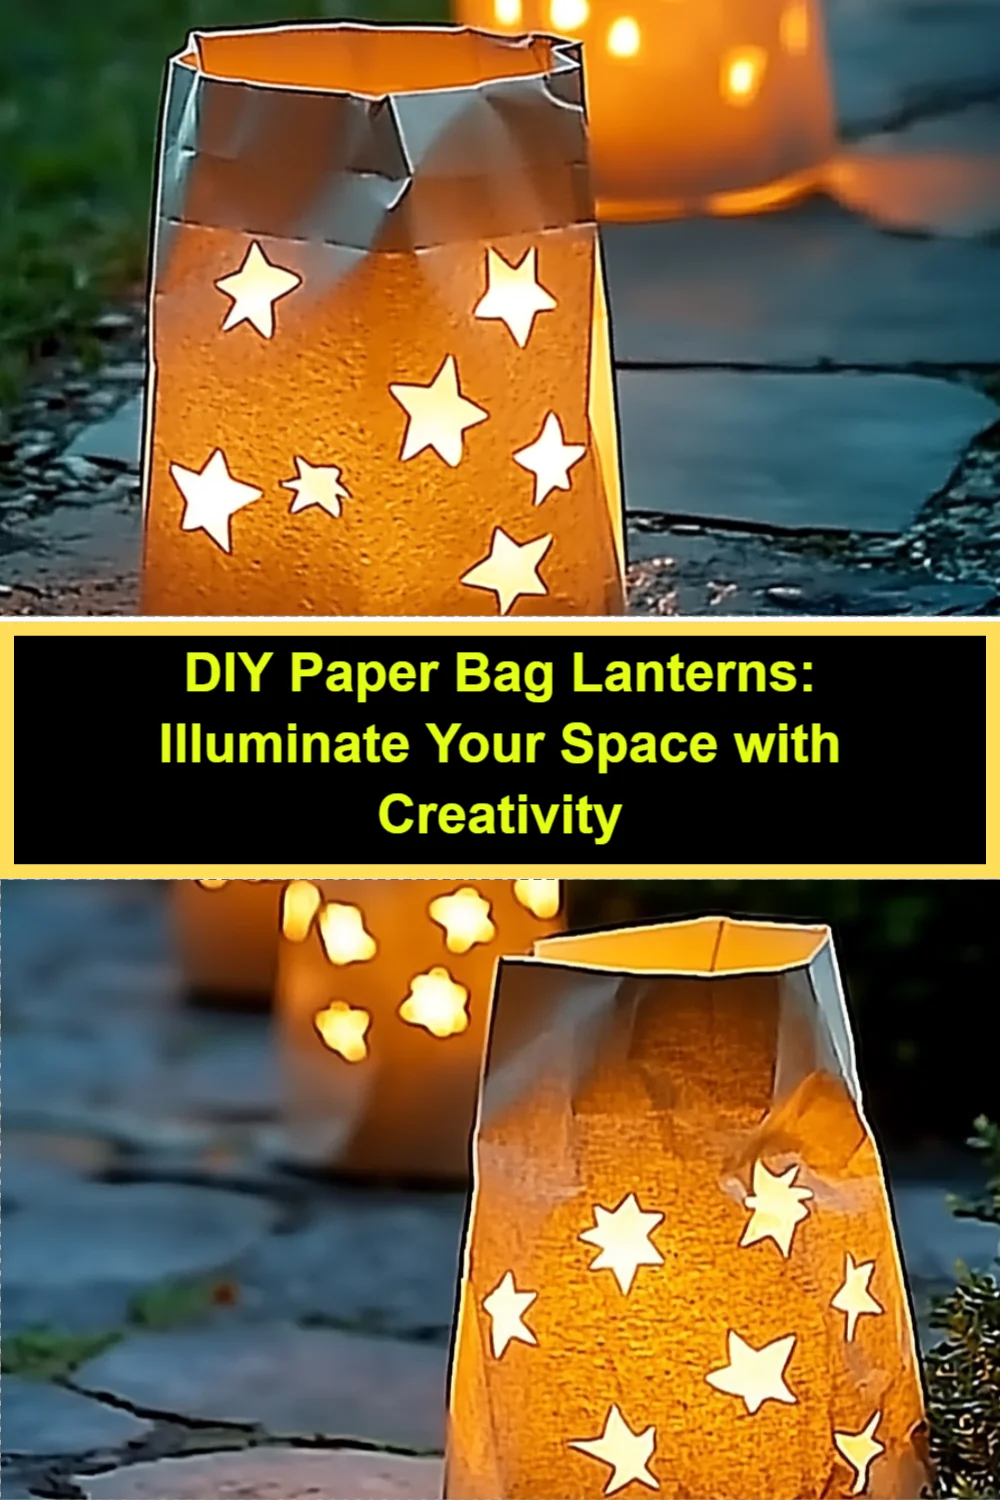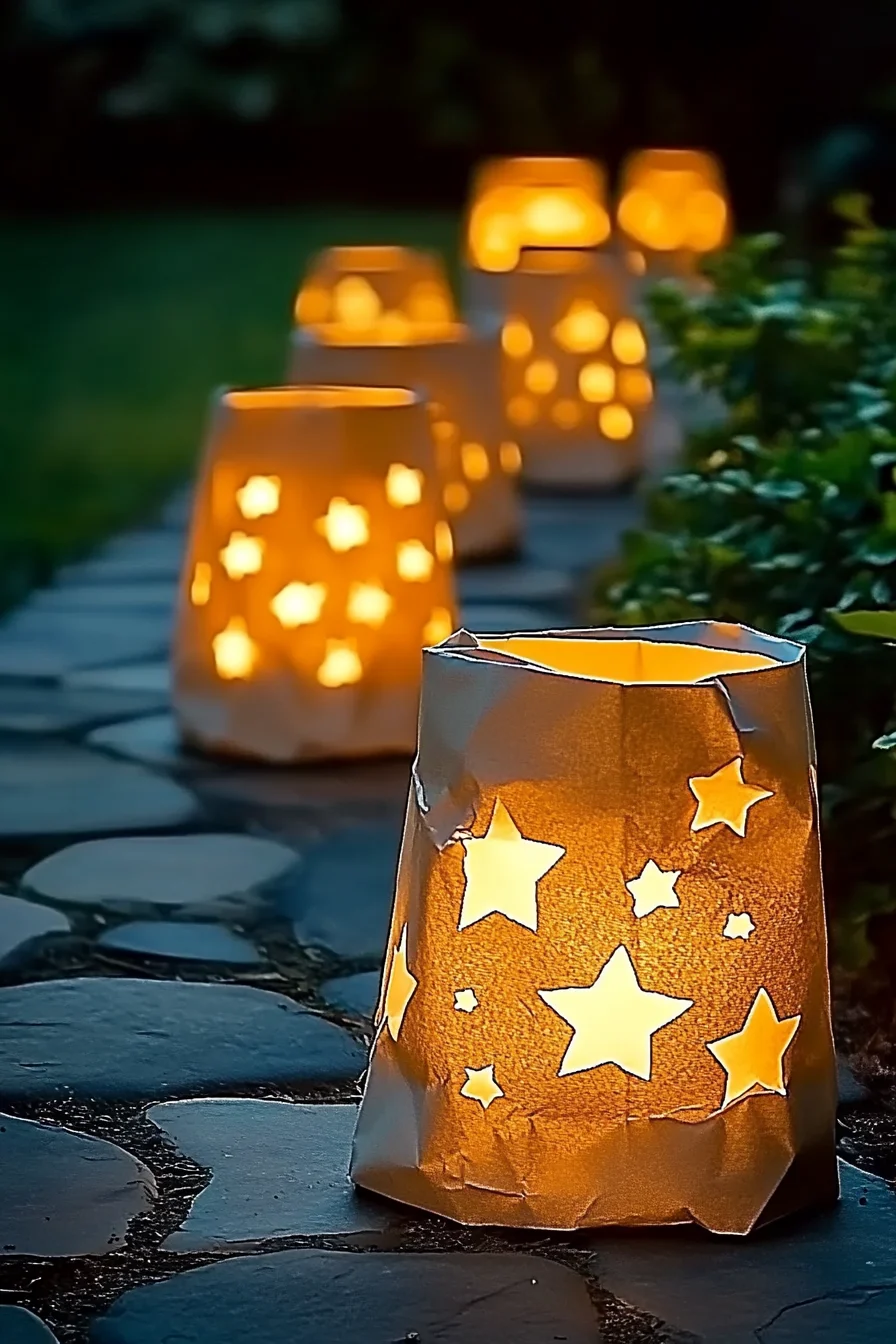
There’s something truly magical about creating your own decorations, especially when they light up your space in the warmest way. Imagine gathering around with family or friends, the soft glow of your handmade paper bag lanterns casting gentle shadows on the walls, creating an atmosphere that feels both cozy and inviting. This DIY project is not only a delightful way to brighten up your home, but it also offers a perfect opportunity to unleash your creativity and mindfulness through crafting. You can almost feel the texture of the paper in your hands and hear the gentle snip of scissors as you bring your designs to life. Let’s dive into this fun and simple project that will allow you to craft beautiful lanterns that can brighten any occasion!
Why You’ll Love DIY Paper Bag Lanterns
- Beginner-friendly
- Budget-friendly
- Creative and fun
- Great for kids and families
- Perfect for gifts or decorations
- Customizable
The Heart Behind This DIY
Crafting paper bag lanterns is a wonderful way to connect with your inner artist while enjoying a peaceful moment. As you cut out shapes and decorate, you’re not just creating a lantern; you’re engaging in a process that encourages mindfulness and creativity. Each snip of the scissors can be a meditative moment, allowing you to focus on the task and let your worries fade away. It’s an opportunity to bond with loved ones, share ideas, and inspire each other as you create something beautiful together. Plus, the joy of seeing your finished lanterns illuminating your space is incredibly rewarding!
A Gentle Look at the Process
Imagine gathering your materials, feeling the sturdy paper bags and envisioning the designs you want to create. In this gentle crafting journey, you’ll start by marking out your designs, cutting them out with care, and then decorating your lanterns to suit your style. The best part? Watching them come to life as you place a flickering tea light inside, filling your space with warmth and light. Each step of this process is as enjoyable as the last, and I can’t wait to share it with you.
Materials You’ll Need
- Paper bags (brown or white): These will serve as the base for your lanterns.
- Tea lights (battery-operated recommended for safety): They provide a warm glow without the worry of fire.
- Scissors: Essential for cutting out your designs.
- Craft knife: Useful for more intricate cuts (use with caution).
- Ruler: Helps ensure that your designs are straight and even.
- Pencil: To mark out your designs before cutting.
- Decorative items (optional): Stickers, markers, or paint allow for personalization.
Step-by-Step Directions
Step 1
Start by flattening your paper bag. Use the ruler and pencil to mark a design on one side of the bag. You could choose simple shapes like stars or hearts, or even create intricate patterns if you’re feeling adventurous. Just imagine how lovely those shapes will look when the light shines through!
Step 2
Carefully cut out the marked shapes using your scissors or craft knife. Take your time with this step – it’s all about precision and care. As you cut, the anticipation builds; you’ll see the light peek through the holes, hinting at the lovely glow that awaits!
Step 3
Once your design is complete, unfold the bag and stand it upright. The sight of your design coming to life is so satisfying! If you want to add a personal touch, decorate the bag with stickers, markers, or paint to enhance its appearance. The world is your oyster here—be as creative as you like!
Step 4
Carefully place a tea light inside the bag. If you decide to use a real candle, make sure to put the bag on a stable, fireproof surface, and never leave it unattended. Safety first, my friend!
Step 5
Finally, arrange your lanterns as desired for your event or decor. Whether it’s a cozy dinner party, a festive gathering, or simply to enjoy at home, these lanterns will surely add a touch of warmth and charm. Take a moment to enjoy the gentle flicker of the lights—they’re a reflection of your creativity!
Creative Ways to Use DIY Paper Bag Lanterns
Once your lanterns are complete, the possibilities are endless! You can use them to create an enchanting centerpiece for a dinner table, line your walkway for a warm welcome at gatherings, or even gift them to friends and family as a thoughtful token. They can also be a delightful addition to a cozy reading nook or a romantic evening under the stars. Just imagine how lovely they would look glowing softly in the night!
How to Store, Preserve, or Reuse DIY Paper Bag Lanterns
To keep your lanterns looking their best, store them in a cool, dry place away from direct sunlight. If you want to reuse them, simply replace the tea lights when needed. If they get a bit dusty, a gentle wipe with a dry cloth will keep them looking fresh and ready for your next event.
Creative Variations and Customizations
- Color variations: Try using colored paper bags for a fun twist!
- Theme ideas: Create designs that reflect the season, like snowflakes for winter or flowers for spring.
- Seasonal adaptations: Change your designs based on holidays or celebrations.
- Kid-friendly modifications: Let kids use crayons or stickers for easier decorating.
- Advanced creative upgrades: Experiment with layering different colors of paper or adding embellishments like beads or ribbons.
Tips for Success
- Common mistakes to avoid: Make sure to mark your designs lightly so they can be easily erased if needed.
- Safety tips: If using a craft knife, ensure children are supervised and use it only when necessary.
- Preparation suggestions: Gather all materials before starting to keep your workspace organized.
- Cleanup recommendations: Have a small trash bag handy for scraps and leftover materials.
- Expert crafting tips: If you’re new to cutting, practice on a separate piece of paper first to get the hang of it.
FAQs About DIY Paper Bag Lanterns
Can beginners make this?
Absolutely! This project is perfect for beginners and requires minimal materials.
Can children participate?
Yes! Kids love crafting, and with some supervision, they can help with cutting and decorating.
How long does it last?
With proper care, your paper bag lanterns can last for several events or seasons.
Can I customize it?
Definitely! Make it your own with different colors, designs, and decorations.
A Final Creative Note
As you embark on this crafting journey, remember that the true beauty lies in the joy of creating something with your own hands. Celebrate your creativity and the time spent with loved ones as you make these delightful paper bag lanterns. For more delicious recipes, check out the scrumptious blueberry cheesecake swirl rolls or the flavorful grilled chicken bites with creamy garlic sauce for treats you will love! Let your creativity shine bright, and happy crafting!
For more DIY inspiration, follow our Pinterest account!
DIY Paper Bag Lanterns
Equipment
- Scissors
- Craft Knife
- Ruler
- Pencil
Ingredients
Materials You'll Need
- Paper bags (brown or white) These will serve as the base for your lanterns.
- Tea lights Battery-operated recommended for safety.
- Scissors Essential for cutting out your designs.
- Craft knife Useful for more intricate cuts (use with caution).
- Ruler Helps ensure that your designs are straight and even.
- Pencil To mark out your designs before cutting.
- Decorative items (optional) Stickers, markers, or paint allow for personalization.
Instructions
- Step 1: Start by flattening your paper bag. Use the ruler and pencil to mark a design on one side of the bag.
- Step 2: Carefully cut out the marked shapes using your scissors or craft knife.
- Step 3: Once your design is complete, unfold the bag and stand it upright. Decorate the bag if desired.
- Step 4: Carefully place a tea light inside the bag.
- Step 5: Arrange your lanterns as desired for your event or decor.
Notes