
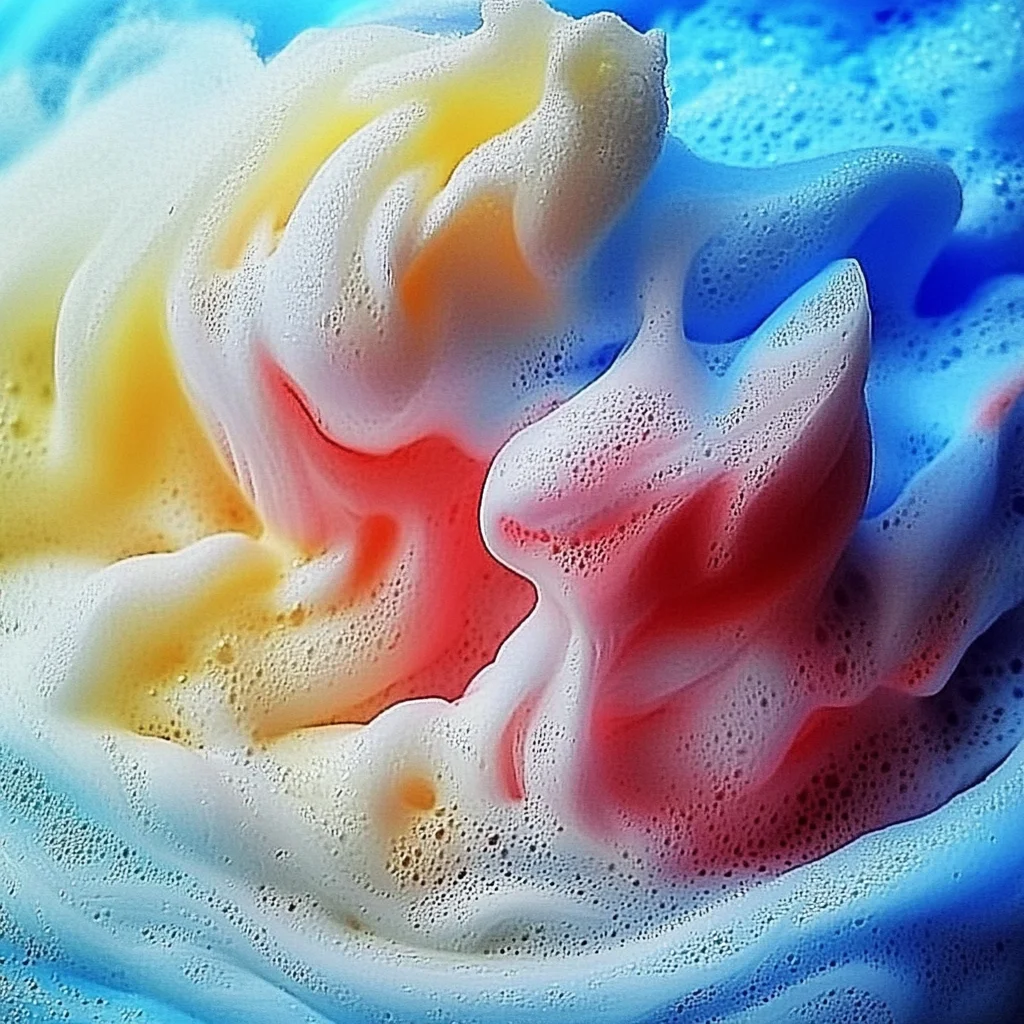
Imagine a world where creativity flows freely, where colors blend and swirl, and where the only limit is your imagination. The Easy Shaving Foam Paint tutorial is not just a project; it’s an invitation to explore, play, and create with your hands. Whether you’re a parent looking for a fun activity with your kids or an adult seeking a relaxing craft to unwind, this project will bring joy and laughter into your home. Picture the laughter as you mix vibrant colors, the soft texture of the foam between your fingers, and the satisfaction of watching your unique creations come to life. Let’s dive into this delightful experience together!
Why You’ll Love Easy Shaving Foam Paint Tutorial
- Beginner-friendly
- Budget-friendly
- Creative and fun
- Great for kids and families
- Perfect for gifts or decorations
- Customizable
The Heart Behind This DIY
Crafting is a beautiful way to express ourselves, and the Easy Shaving Foam Paint project embodies that spirit of creativity. As you mix glue and foam, you’ll engage your senses, experiencing the soft, airy texture and the delightful scents of your materials. This project is not just about making art; it’s about fostering mindfulness and connection—whether you’re laughing with your children or enjoying a peaceful moment alone. Each stroke of your brush can boost your confidence, encouraging you to explore new ideas and techniques. I always find that crafting brings me back to the present moment, reminding me to appreciate the simple joys in life.
A Gentle Look at the Process
As we embark on this creative journey, you can expect a colorful and playful experience. You will start by combining soft, fluffy shaving foam with glue, creating a delightful mixture that feels almost like a cloud in your hands. Then comes the fun part: adding vibrant colors to your paint and watching it transform into something uniquely yours. This process is not just about the final product; it’s about enjoying every step, from the mixing to the painting. So, grab your supplies, and let’s get ready to create!
Materials You’ll Need
- 1 cup of shaving foam – This fluffy ingredient will give your paint a wonderful texture.
- 1 cup of white school glue – This will help your colors stick to your canvas.
- Food coloring or liquid watercolors – These vibrant colors will bring your creations to life.
- Mixing bowl – A space to blend your ingredients together.
- Whisk or spatula – Perfect tools for mixing your foam and glue.
- Storage containers – To keep your paint fresh for your next creative adventure.
Step-by-Step Directions
Step 1
In a mixing bowl, combine 1 cup of shaving foam with 1 cup of white school glue. As you pour them in, take a moment to inhale that fresh scent—there’s something comforting about it.
Step 2
Gently mix the shaving foam and glue together using a whisk or spatula. You’ll notice the textures blending together, creating a light and airy mixture. Be careful not to over-mix; you want to maintain that lovely fluffy consistency!
Step 3
If you want to create multiple colors, divide the mixture into separate containers. The anticipation of what colors you’ll create next is part of the excitement!
Step 4
Add a few drops of food coloring or liquid watercolors to each container. Watch as the colors swirl and blend into your foam mixture. Mix until you reach your desired shade—don’t be afraid to experiment!
Step 5
Once mixed, your shaving foam paint is ready to use. Dip your brush into the vibrant concoction and let your creativity flow! Store any leftover paint in airtight containers to keep it fresh for your next artistic session.
Creative Ways to Use Easy Shaving Foam Paint Tutorial
Now that you’ve created your vibrant shaving foam paint, what will you do with it? You can use it to paint on paper, create beautiful greeting cards, or even decorate rocks for your garden. Imagine gifting a set of handmade cards to a friend or using your artwork to brighten up your home. You could even host a creative playdate with friends and let everyone express their artistic side. The possibilities are endless, and each creation will carry a piece of your unique spirit.
How to Store, Preserve, or Reuse Easy Shaving Foam Paint Tutorial
To keep your shaving foam paint fresh, store it in airtight containers. This will prevent it from drying out, allowing you to enjoy it for several sessions. If you notice it starting to dry, simply add a little water to revive it. You can also reuse the same containers for future projects, making this not only a fun activity but an eco-friendly one too!
Creative Variations and Customizations
- Color variations – Experiment with different shades and combinations!
- Theme ideas – Create holiday-themed crafts or seasonal art pieces.
- Seasonal adaptations – Use pastels for spring or warm tones for autumn.
- Kid-friendly modifications – Let kids mix their colors or create their own designs.
- Advanced creative upgrades – Try adding glitter or using different painting tools like sponges or stamps.
Tips for Success
- Avoid common mistakes like over-mixing, which can flatten your paint.
- For safety, ensure that children are supervised while using materials.
- Prepare your workspace with newspaper or a plastic sheet for easy cleanup.
- Cleanup is a breeze—just rinse your tools and containers with warm soapy water.
- Don’t hesitate to have fun! Crafting is about exploring, so let your imagination guide you.
FAQs About Easy Shaving Foam Paint Tutorial
Can beginners make this?
Absolutely! This project is perfect for beginners of all ages.
Can children participate?
Yes! Kids will love getting their hands messy and creating colorful art.
How long does it last?
When stored in airtight containers, your shaving foam paint can last for weeks.
Can I customize it?
Definitely! You can choose your colors and even add glitter or other textures.
A Final Creative Note
As you wrap up this project, take a moment to appreciate the creativity and joy that you’ve unleashed. Each brushstroke is a testament to your imagination, and every splash of color reflects your unique spirit. Embrace the art of making, whether for yourself, your loved ones, or simply for the joy of creating. For more delicious recipes, check out the delightful Blueberry Cheesecake Swirl Rolls or Easy Pineapple Rum Cocktail for treats you will love! Remember, every moment spent crafting is a moment well spent. Now, let’s get painting!
For even more DIY inspiration, be sure to follow our Pinterest for more creative ideas!
Easy Shaving Foam Paint Tutorial
Equipment
- Mixing Bowl or Tray
- Spoons or Spatulas
- Paintbrushes
Ingredients
For the Shaving Foam Paint
- 1 cup non-gel shaving foam
- food coloring or liquid watercolors add gradually to achieve the desired color
- cardboard or thick paper for painting
- glitter optional
- suitable scented material optional and only when appropriate for the intended use
Instructions
- Step 1: Choose a flat surface that is easy to clean and cover it with newspaper or plastic wrap. Gather the shaving foam, colors, mixing tools, paper, and optional decorations.
- Step 2: Add approximately 1 cup of non-gel shaving foam to a clean mixing bowl or tray. Divide the foam into smaller portions if creating several colors.
- Step 3: Add a few drops of food coloring or liquid watercolor. Start with a small amount and gradually add more until the desired color intensity is reached.
- Step 4: Gently fold the color into the foam using a spoon or spatula. Avoid overmixing if you want visible swirls or marbled patterns.
- Step 5: Apply the shaving foam paint to cardboard or thick paper using a brush, or gently press the paper into the foam to transfer the design. Experiment with layers, swirls, textures, and patterns.
- Step 6: Add a small amount of suitable glitter or additional color if desired for decorative effects.
- Step 7: Place the finished artwork in a safe, dry area and allow it to dry for several hours or overnight. Let it dry completely before displaying or storing it.
