
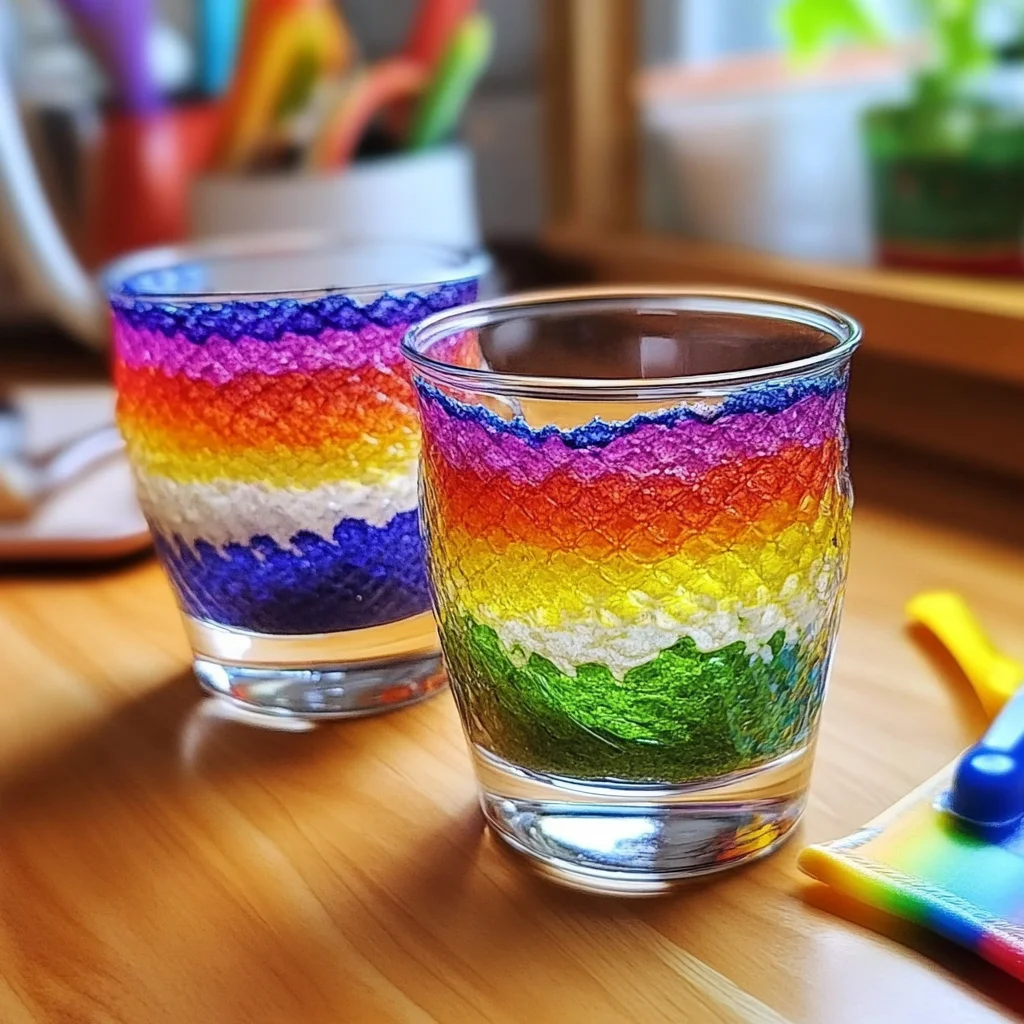
Have you ever wanted to capture a bit of magic in your home? Imagine creating a beautiful rainbow right before your eyes, all with just a few simple materials. This DIY project, “How to Grow a Rainbow,” is not only mesmerizing but also a wonderful way to engage your creativity and spark curiosity. Whether you’re sitting down with your kids or enjoying a quiet afternoon solo, this project invites you to explore the beauty of light and color in a hands-on way. Picture the moment when the sunlight dances off a small mirror, sending vibrant arcs of color onto a waiting surface—it’s pure joy!
Why You’ll Love How to Grow a Rainbow
- Beginner-friendly
- Budget-friendly
- Creative and fun
- Great for kids and families
- Perfect for gifts or decorations
- Customizable
The Heart Behind This DIY
There’s something truly special about creating something with your own hands. “How to Grow a Rainbow” is not just a fun activity; it’s a gentle reminder of the wonders of science and art combined. As you engage with this project, you are nurturing creativity and fostering a sense of mindfulness. The process of adjusting the mirror and light encourages patience and experimentation, while the vibrant colors can evoke happiness and calm. This project is an opportunity to connect with loved ones or to simply find a moment of peace in your day.
A Gentle Look at the Process
As you embark on this colorful journey, you will find that the process is as delightful as the outcome. You will fill a glass with water, place a mirror just so, and watch as the light transforms into a beautiful display of colors. It’s about discovering how the angles of light and reflection can create magic right in your living room. Each step is a chance to explore, play, and enjoy the simple beauty of nature.
Materials You’ll Need
- 1 clear glass or jar – This will hold the water and act as a prism for the light.
- Water – Essential for creating the rainbow effect.
- 1 small mirror – This will reflect the light to create the rainbow.
- A flashlight or sunlight – The source of light that will bring your rainbow to life.
- White paper or a surface to catch the light – This is where your rainbow will appear.
Step-by-Step Directions
Step 1
Fill the clear glass or jar with water until it is about three-quarters full. As you pour the water, listen to the gentle splash and feel the coolness against your hands, setting the stage for your colorful creation.
Step 2
Take the small mirror and place it at an angle in the water, ensuring that part of it is submerged. This is where the magic begins! You might feel a rush of excitement as you set the mirror just right, eager to see what will happen next.
Step 3
Now, it’s time for the light! Position your flashlight or find a sunny spot where the sunlight can shine directly onto the mirror. Adjust the angle of the mirror until you see a rainbow reflected on the white paper or surface nearby. This moment is truly enchanting—be prepared for that burst of color to brighten your day!
Step 4
Experiment with different angles of the mirror and light source. You can spend time playing with how the light reflects, creating various rainbow effects. Each adjustment will bring a new surprise, so take your time and enjoy the process!
Creative Ways to Use How to Grow a Rainbow
Once you’ve created your rainbow, the fun doesn’t have to stop there! You can display your masterpiece by photographing it and sharing it with friends and family. Consider using the rainbow as a unique decoration for a party or celebration, or even as a thoughtful gift for someone special. The joy of this project lies in its versatility and the smiles it brings!
How to Store, Preserve, or Reuse How to Grow a Rainbow
If you want to recreate your rainbow, simply empty the glass and start again whenever you feel the urge to make magic. You can also share your experience with others, inviting them to join in the fun and creativity!
Creative Variations and Customizations
- Color variations – Experiment with colored water using food coloring.
- Theme ideas – Create rainbows for specific holidays or celebrations.
- Seasonal adaptations – Use seasonal colors like pastels for spring or warm shades for autumn.
- Kid-friendly modifications – Let kids choose their favorite colors to experiment with.
- Advanced creative upgrades – Incorporate more mirrors or glasses to create multi-layered rainbows.
Tips for Success
- Avoid common mistakes by ensuring the mirror is at the right angle to catch the light.
- Safety tip: If using a flashlight, ensure it is placed securely to avoid accidents.
- Preparation suggestions: Have your materials ready to create a smooth and enjoyable crafting experience.
- Cleanup recommendations: Simply empty the water and rinse your glass for easy cleanup.
- Expert crafting tips: Take your time adjusting the mirror for the best results; patience is key!
FAQs About How to Grow a Rainbow
Can beginners make this?
Absolutely! This project is beginner-friendly and perfect for anyone looking to explore the wonders of light and color.
Can children participate?
Yes! Kids will love watching the colors come to life, making it a fantastic family activity.
How long does it last?
The rainbow will last as long as the light is shining on the mirror, but you can recreate it as many times as you wish!
Can I customize it?
Definitely! Feel free to experiment with different colors, angles, and materials to create your unique version of a rainbow.
A Final Creative Note
As you embark on your journey of creating your own rainbow, remember that the beauty of crafting lies in the joy of exploration and creativity. Celebrate each small success and the happiness it brings. For more delightful DIY ideas, check out our fun recipes like the fluffy Blueberry Lemon Ricotta Pancakes or treat yourself to a tasty Key Lime Pie Cookie recipe! Let your imagination run wild, and enjoy every moment of making something uniquely yours!
For even more DIY inspiration, follow our Pinterest page!
How to Grow a Rainbow
Equipment
- Paintbrushes
- Water Container
- Paper towels
- Pencil
Ingredients
For the Rainbow Artwork
- 1 sheet of white paper or canvas
- watercolor paints or markers use rainbow colors or your preferred color palette
- paintbrushes if using watercolor paints
- water for rinsing the brushes
- paper towels for drying brushes
- black marker for outlining the rainbow
- glitter or stickers optional for decoration
Instructions
- Step 1: Find a clean, flat surface and protect it with newspaper or a plastic covering. Gather the paper, paints or markers, brushes, water, and other supplies.
- Step 2: Lightly draw a large semi-circle in the center of the paper with a pencil. Divide the arc into sections for red, orange, yellow, green, blue, indigo, and violet.
- Step 3: Start with red and use a paintbrush to fill the first section of the rainbow. Observe how the paint spreads across the paper and enjoy the texture of the color.
- Step 4: Rinse the brush thoroughly and dry it on a paper towel before changing colors. Continue painting the remaining sections in rainbow order and allow the colors to contrast or gently blend at the edges.
- Step 5: Allow the artwork to dry completely. Use a black marker to outline the rainbow for stronger definition if desired.
- Step 6: Add glitter, stickers, clouds, stars, flowers, sunshine, or other decorations to personalize the finished rainbow.
