Remember those endless afternoons spent with colorful crayons, creating worlds on paper? There’s something so deeply nostalgic about the simple joy of crayons, isn’t there? Today, we’re going to tap into that sweet childhood memory and transform those leftover, broken crayons into something truly magical: Crayon Star Sun Catchers! This is one of those crafts that’s not only incredibly easy and quick to make but also brings a burst of cheerful color to any space. Get ready to bring a little sunshine indoors, year-round!
Why You’ll Love Crayon Star Sun Catchers
- Fast: You can whip up a batch of these in no time, perfect for a rainy afternoon or a spontaneous craft session.
- Easy: Seriously, the steps are super straightforward, making it a fantastic project for all ages, from little ones with supervision to adults looking for a relaxing activity.
- Giftable: Imagine gifting these to friends, teachers, or neighbors! They’re handmade, unique, and bring such a lovely pop of color. They’d be a sweet addition to a gift basket or just a thoughtful surprise.
- Crowd-pleasing: Whether you’re crafting with kids, hosting a playdate, or just want to add some sparkle to your own windows, everyone loves seeing these colorful stars catch the light.
Ingredients
Gathering your supplies is a breeze, and you probably have most of them already!
- Old Crayons: The more colors, the merrier! Don’t worry about them being broken or worn down – that’s what we’re here to fix.
- Wax Paper: This is our magical melting base.
- Parchment Paper: Essential for protecting your iron and ensuring a smooth melting process.
- Manual Sharpener or Knife: To get those lovely crayon shavings.
- Iron: Your trusty tool for melting the crayons.
- Star Stencil or Cookie Cutter: To give our sun catchers their fabulous shape.
- Baker’s Twine: For hanging your beautiful creations.
How to Make Crayon Star Sun Catchers
Ready to get crafty? Let’s dive in! This is where the real magic happens.
- Shave Those Crayons: Start by taking your old crayons and sharpening them into small shavings. A manual sharpener works wonders for this. If you have bigger broken pieces, you can carefully shave them with a knife (adult supervision is key here!). The finer the shavings, the more evenly they’ll melt.
- Prep Your Wax Paper: Lay out a piece of wax paper, about 12×12 inches, on a clean, flat surface. This will be the base for our sun catchers.
- Sprinkle the Colors: Evenly sprinkle your colorful crayon shavings onto one half of the wax paper. Get creative with your color combinations! Think about how the colors will blend when they melt. I love creating gradients or vibrant bursts of color.
- Create Your Envelope: Carefully fold the wax paper in half over the crayon shavings. Then, double-fold the edges inward to create a secure little envelope. This is important to keep everything contained during the melting process. Remember, using just a small amount of shavings per envelope will give you the best results – you don’t want them to be too thick!
- Ironing Time: Place your sealed wax paper envelope between two large pieces of folded parchment paper. This acts as a protective barrier.
- Melt Away: Set your iron to a low heat setting. Gently and carefully iron over the parchment paper. You’ll see the crayon shavings start to melt and spread within the wax paper. Keep ironing until the shavings are fully melted and have formed a colorful, translucent sheet.
- Cool Down: Remove the melted wax paper envelope from the heat and let it cool completely. Patience is a virtue here; you want it to be solid before you move on.
- Shape Your Stars: Once cooled, use your star stencil or cookie cutter to trace large star shapes onto the wax paper.
- Cut with Care: Carefully cut out the star shapes with scissors, following your traced lines.
- Add a Hanger: Punch a small hole in the top of each star. This is where your baker’s twine will go.
- String Them Up: Thread a piece of baker’s twine through the hole of each star. You can tie a knot at the top for easy hanging.
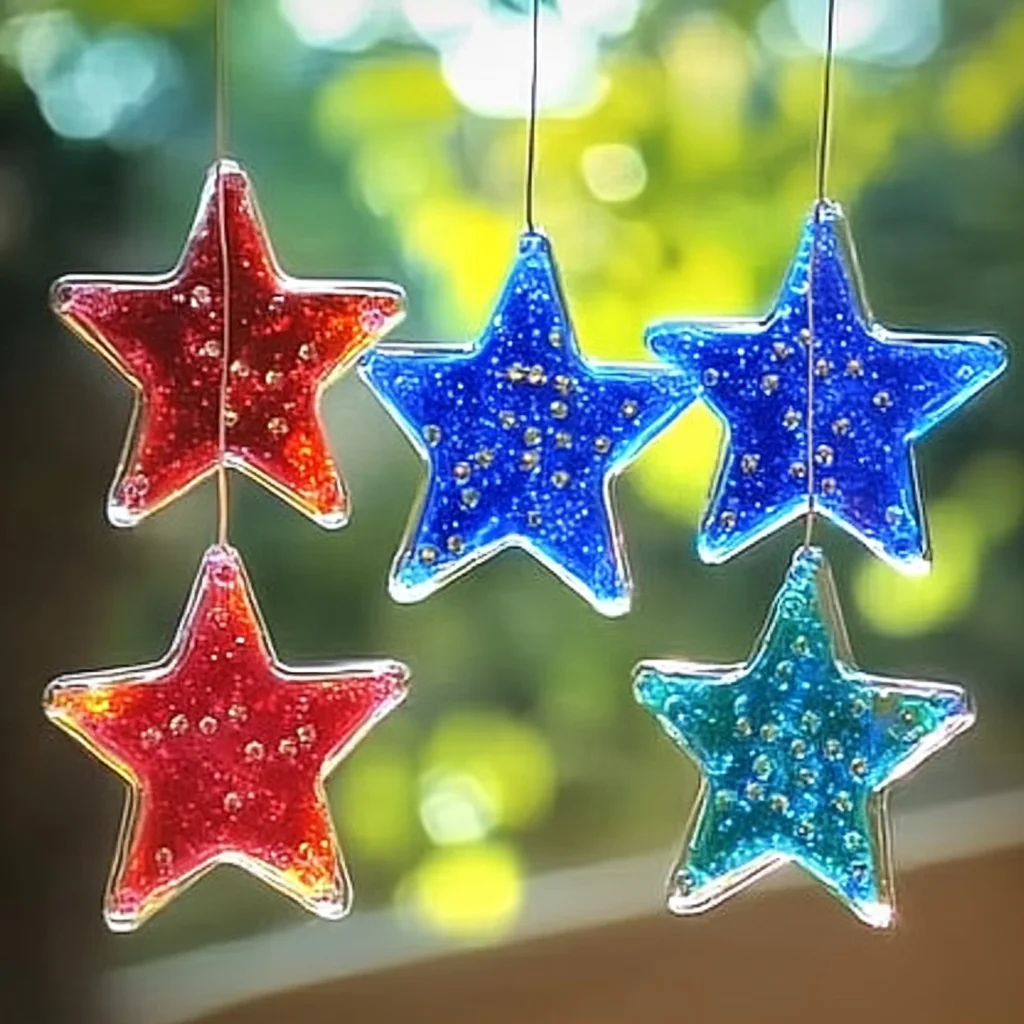
- Hang and Enjoy: Find a sunny window and hang your beautiful, homemade Crayon Star Sun Catchers! Watch as the light streams through, casting colorful patterns around your room. It’s like having little pieces of art that dance with the sun.

Substitutions & Additions
Feeling adventurous? You can totally customize these! If you don’t have a star stencil, you can try cutting out other shapes, like hearts or even freehand some unique designs. For a different vibe, you could even try this with smaller, cut-up crayons in molds – though wax paper offers a unique, slightly textured finish. If you’re looking for more creative craft ideas, you might enjoy making some crayon star sun catchers or perhaps some sparkly sugar water paintings for a different kind of colorful fun.
Tips for Success
- Low Heat is Key: Always start with the lowest iron setting. You can always increase it slightly if needed, but starting too high can melt the wax paper too quickly or burn the crayons.
- Even Shavings: Try to get your crayon shavings as uniform in size as possible. This helps them melt evenly.
- Don’t Overfill: Too many crayon shavings will make the sun catcher thick and opaque, rather than translucent and light-catching.
- Double Check Edges: Make sure the edges of your wax paper envelopes are well-folded and sealed to prevent any leakage.
- Cool Completely: Resist the urge to cut before the melted wax paper has cooled and solidified. It will be much easier to work with and you’ll get cleaner cuts.
How to Store Crayon Star Sun Catchers
If you make a bunch and want to save some for later, store them flat in a box or a large envelope. They can be a bit delicate, so avoid stacking anything heavy on top of them. Kept dry and flat, they should last for a good long while, ready to be hung whenever you need a splash of color!
FAQs
-
Are these sun catchers safe for kids to make?
Yes, with adult supervision, especially when using the iron and any knives for shaving crayons. The melted wax is hot!
-
Can I use different shapes?
Absolutely! Feel free to use any cookie cutters or stencils you have on hand. Hearts, circles, or even abstract shapes will look wonderful.
-
What if my sun catcher looks a bit patchy after melting?
That’s perfectly normal and adds to the unique charm! If you prefer a more solid color, you can try ironing another layer of shavings on top, or simply embrace the beautiful imperfections.
These Crayon Star Sun Catchers are such a delightful way to reuse old materials and bring a smile to your face. If you love creative and colorful DIY projects, be sure to check out our other fun crafts, like making glow-in-the-dark bubbles or creating your own lava lamp style suncatchers. Happy crafting!
For more inspiring DIYs and delicious recipes, follow us on Pinterest!

Crayon Star Sun Catchers
Equipment
- Manual sharpener or knife
- Iron
- Star stencil or cookie cutter
- Scissors
- Hole punch
Ingredients
- Old Crayons The more colors, the merrier!
- Wax Paper This is our magical melting base.
- Parchment Paper Essential for protecting your iron and ensuring a smooth melting process.
- Baker’s Twine For hanging your beautiful creations.
Instructions
- Step 1: Start by taking your old crayons and sharpening them into small shavings. A manual sharpener works wonders for this. If you have bigger broken pieces, you can carefully shave them with a knife (adult supervision is key here!). The finer the shavings, the more evenly they'll melt.
- Step 2: Lay out a piece of wax paper, about 12x12 inches, on a clean, flat surface. This will be the base for our sun catchers.
- Step 3: Evenly sprinkle your colorful crayon shavings onto one half of the wax paper. Get creative with your color combinations! Think about how the colors will blend when they melt. I love creating gradients or vibrant bursts of color.
- Step 4: Carefully fold the wax paper in half over the crayon shavings. Then, double-fold the edges inward to create a secure little envelope. This is important to keep everything contained during the melting process. Remember, using just a small amount of shavings per envelope will give you the best results – you don't want them to be too thick!
- Step 5: Place your sealed wax paper envelope between two large pieces of folded parchment paper. This acts as a protective barrier.
- Step 6: Set your iron to a low heat setting. Gently and carefully iron over the parchment paper. You'll see the crayon shavings start to melt and spread within the wax paper. Keep ironing until the shavings are fully melted and have formed a colorful, translucent sheet.
- Step 7: Remove the melted wax paper envelope from the heat and let it cool completely. Patience is a virtue here; you want it to be solid before you move on.
- Step 8: Once cooled, use your star stencil or cookie cutter to trace large star shapes onto the wax paper.
- Step 9: Carefully cut out the star shapes with scissors, following your traced lines.
- Step 10: Punch a small hole in the top of each star. This is where your baker's twine will go.
- Step 11: Thread a piece of baker's twine through the hole of each star. You can tie a knot at the top for easy hanging.
- Step 12: Find a sunny window and hang your beautiful, homemade Crayon Star Sun Catchers! Watch as the light streams through, casting colorful patterns around your room. It’s like having little pieces of art that dance with the sun.