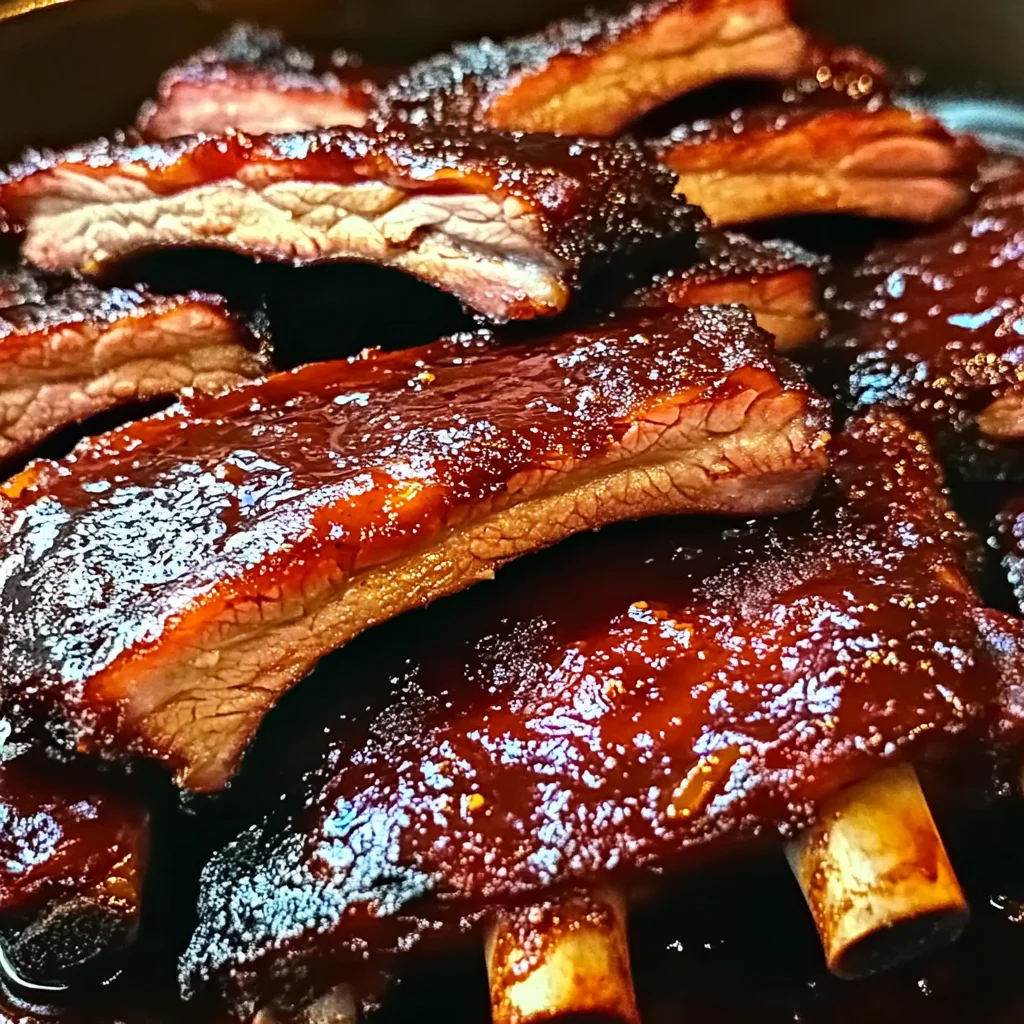
Remember those summer cookouts and the smell of smoky, tender ribs filling the air? There’s something so incredibly comforting and delicious about a perfectly cooked rack of ribs. But let’s be honest, sometimes making them at home can feel a little intimidating. Well, I’m here to tell you that you can absolutely achieve that melt-in-your-mouth perfection right in your own oven, with minimal fuss. This recipe for Oven-Baked Fall-Off-the-Bone Ribs is so simple, so delicious, and so undeniably good, it’ll become your new go-to. Get ready to impress yourself and everyone you cook for!
Why You’ll Love Oven-Baked Fall-Off-the-Bone Ribs
- Fast: While they need a little boiling time, the active prep is super quick.
- Easy: No fancy equipment or complicated techniques needed.
- Giftable: Imagine bringing a rack of these to a potluck or BBQ – they’re always a hit!
- Crowd-pleasing: Seriously, who doesn’t love ribs? These are universally loved.
Ingredients
Gathering your ingredients is half the fun, right? Here’s what you’ll need to make these amazing ribs:
- Ribs (your choice): Whether you prefer pork spare ribs or baby back ribs, pick what you love!
- 3/8 cup (95 ml) Ketchup: Our tangy base for that classic flavor.
- 1/3 cup (85 ml) Smoky BBQ Sauce: Adds a wonderful depth and smoky char.
- 3 tablespoons Chili Powder: For a little kick and warmth.
- 3/4 cup (190 ml) Maple Syrup: This is our secret ingredient for that amazing sweet glaze and tenderizing power. It makes everything so beautifully caramelized!
- 4 tablespoons HP Sauce: Adds a unique, savory tang that complements the sweetness perfectly.
- Paprika, Salt, and Pepper: To taste, for seasoning and that beautiful color.
How to Make Oven-Baked Fall-Off-the-Bone Ribs
Alright, let’s get cooking! This is where the magic happens.
- Boil Those Ribs: First things first, you want to give your ribs a head start by boiling them. Place them in a large pot, cover with water, and let them simmer for about 1 hour. This step is crucial for getting that super tender, fall-off-the-bone texture.
- Preheat Your Oven: While the ribs are boiling, preheat your oven to a cozy 300°F (150°C). We’re going for a slow and steady bake here to really lock in that moisture and flavor.
- Whip Up That Glaze: In a medium-sized bowl, it’s time to make your magic sauce! Whisk together the ketchup, smoky BBQ sauce, chili powder, maple syrup, HP sauce, paprika, salt, and pepper. Give it a good stir until everything is nicely combined. This glaze is going to be the star of the show!
- Glaze It Up: Once the ribs are done boiling, carefully remove them from the water. Now, generously brush those beauties all over with your homemade glaze. Don’t be shy – get into all the nooks and crannies!
- Bake to Perfection: Place the glazed ribs in a baking dish. Pop them into your preheated oven and bake for about 40 minutes on one side.
- Flip and Glaze Again: After 40 minutes, carefully flip the ribs over. Brush them generously with more of that amazing glaze. This ensures they stay moist and develop a gorgeous, sticky coating. Bake for another 40 minutes on this side.
- Serve and Enjoy: Once they’re done, remove the ribs from the oven. They should be tender, juicy, and absolutely irresistible. Serve them hot and watch them disappear! These are fantastic served with a side of my easy marinated cucumber tomato onion salad for a refreshing contrast.
Substitutions & Additions
Feeling creative? You can totally customize these ribs to your taste buds!
- For a Spicier Kick: Add a pinch of cayenne pepper or a dash of your favorite hot sauce to the glaze.
- Sweetness Adjustment: If you prefer less sweetness, reduce the maple syrup slightly.
- Different BBQ Sauces: Feel free to experiment with different flavors of BBQ sauce – honey, mesquite, or even a spicy chipotle!
- Garlic Lover? Add a teaspoon of garlic powder to the glaze for an extra punch of flavor.
- A Touch of Vinegar: A tablespoon of apple cider vinegar can add a nice tang to the glaze.
Tips for Success
A few little tricks can make these ribs even better:
- Don’t Over-Boil: Boiling too long can make the ribs mushy. Aim for that 1-hour mark to get them tender but still holding their shape.
- Low Oven Temperature: Resist the urge to crank up the oven temperature. The lower temp is key to achieving that fall-off-the-bone tenderness without drying them out.
- Resting is Key: While not strictly necessary with this recipe due to the initial boiling, letting the ribs rest for 5-10 minutes after they come out of the oven can help redistribute the juices.
- Prep Ahead: You can prepare the glaze a day in advance and store it in an airtight container in the refrigerator.
- Consider Wrapping: For an even more intensely tender result, you can wrap the glazed ribs tightly in foil during the last 20 minutes of baking.
How to Store Oven-Baked Fall-Off-the-Bone Ribs
Leftover ribs? Lucky you! You can store them in an airtight container in the refrigerator for up to 3-4 days. To reheat, you can gently warm them in the oven at a low temperature (around 275°F or 135°C) or even in a skillet over low heat with a splash of water or extra BBQ sauce. They also make a fantastic addition to other dishes. For instance, you could shred the leftover meat and add it to a pasta dish like my creamy chicken linguine recipe for a smoky twist!
FAQs
- Q: Can I skip the boiling step?
A: While you can bake them without boiling, the boiling step is what guarantees that truly “fall-off-the-bone” texture. Without it, they might be tender, but not quite as melt-in-your-mouth. - Q: What kind of ribs are best for this recipe?
A: Pork spare ribs or baby back ribs both work beautifully! Baby back ribs are generally a bit more tender and have a milder flavor, while spare ribs are meatier and have a richer taste. - Q: How do I know when the ribs are done baking?
A: They should be incredibly tender, and the meat will easily pull away from the bone. The glaze should be sticky and caramelized.
I hope you enjoy making and eating these incredibly simple and delicious oven-baked ribs as much as I do! They’re perfect for a weeknight dinner or a weekend feast. For more delicious recipes and culinary inspiration, be sure to follow us on Pinterest!
Fall-Off-the-Bone Ribs
Equipment
- Large Pot
- oven
- medium-sized bowl
- Baking dish
Ingredients
- Ribs (your choice) whether you prefer pork spare ribs or baby back ribs, pick what you love!
- 3/8 cup Ketchup our tangy base for that classic flavor
- 1/3 cup Smoky BBQ Sauce adds a wonderful depth and smoky char
- 3 tablespoons Chili Powder for a little kick and warmth
- 3/4 cup Maple Syrup this is our secret ingredient for that amazing sweet glaze and tenderizing power. it makes everything so beautifully caramelized!
- 4 tablespoons HP Sauce adds a unique, savory tang that complements the sweetness perfectly
- Paprika, Salt, and Pepper to taste, for seasoning and that beautiful color
Instructions
- Step 1: First things first, you want to give your ribs a head start by boiling them. Place them in a large pot, cover with water, and let them simmer for about 1 hour. This step is crucial for getting that super tender, fall-off-the-bone texture.
- Step 2: While the ribs are boiling, preheat your oven to a cozy 300°F (150°C). We're going for a slow and steady bake here to really lock in that moisture and flavor.
- Step 3: In a medium-sized bowl, it’s time to make your magic sauce! Whisk together the ketchup, smoky BBQ sauce, chili powder, maple syrup, HP sauce, paprika, salt, and pepper. Give it a good stir until everything is nicely combined. This glaze is going to be the star of the show!
- Step 4: Once the ribs are done boiling, carefully remove them from the water. Now, generously brush those beauties all over with your homemade glaze. Don't be shy – get into all the nooks and crannies!
- Step 5: Place the glazed ribs in a baking dish. Pop them into your preheated oven and bake for about 40 minutes on one side.
- Step 6: After 40 minutes, carefully flip the ribs over. Brush them generously with more of that amazing glaze. This ensures they stay moist and develop a gorgeous, sticky coating. Bake for another 40 minutes on this side.
- Step 7: Once they're done, remove the ribs from the oven. They should be tender, juicy, and absolutely irresistible. Serve them hot and watch them disappear! These are fantastic served with a side of my easy marinated cucumber tomato onion salad for a refreshing contrast.