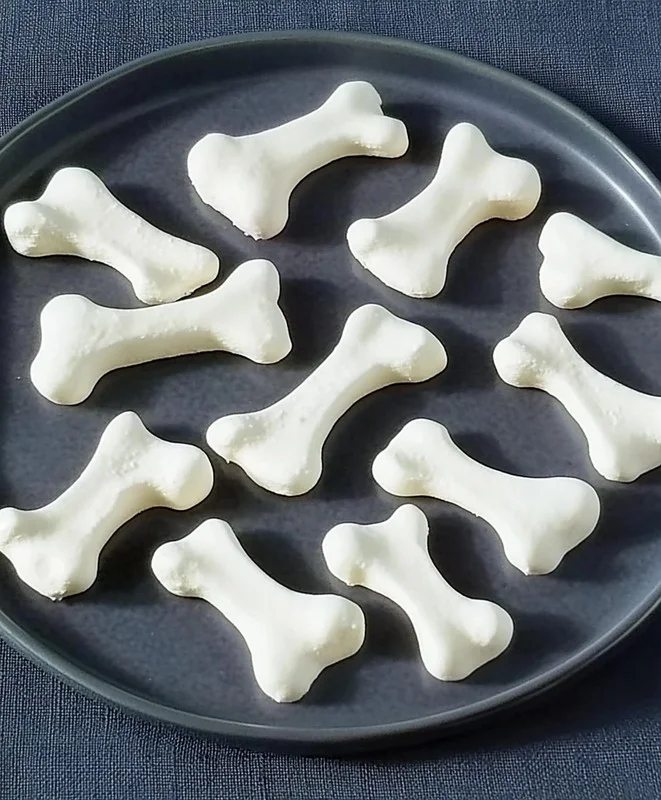
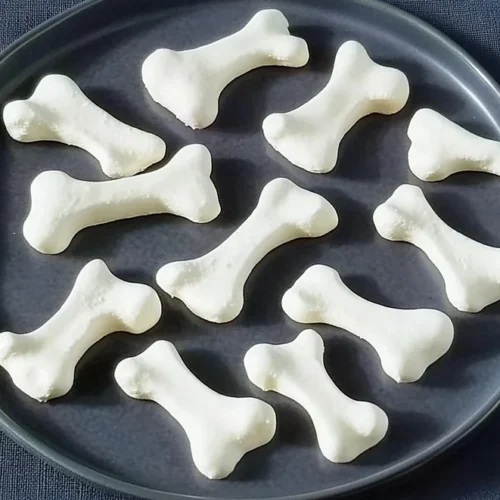
Remember those magical days of Halloween, when every candy wrapper felt like a treasure map and homemade treats held a special kind of enchantment? Well, get ready to recapture some of that whimsical spirit right in your own kitchen! Today, we’re whipping up something truly delightful and just a tiny bit spooky: Meringue Bones. These aren’t just any treat; they’re crisp, melt-in-your-mouth clouds of sweetness that look absolutely adorable, or, dare I say, boo-tiful! You won’t believe how easy they are to make, and yet, they’re so memorable, everyone will be asking for your secret. Whether you’re planning a ghoulish gathering or just want a fun project with the kids, these Meringue Bones are an absolute scream!
Why You’ll Love Meringue Bones
- Fast: With just a few simple ingredients and an electric mixer, you’ll have these whipped up in no time.
- Easy: Seriously, if you can beat egg whites, you can make these! It’s mostly about patience.
- Giftable: Package them up in clear bags with a festive ribbon, and you’ve got a charming, edible gift.
- Crowd-pleasing: Their light texture and sweet vanilla flavor are universally loved.
Ingredients
Gathering your ingredients is the first step to any kitchen adventure! For these Meringue Bones, you’ll need just a few simple items, most of which you probably already have on hand.
- 6 Large Egg Whites: Make sure they are at room temperature! This is super important for getting the best volume when you beat them.
- ½ teaspoon Cream of Tartar: This little wonder ingredient helps stabilize the egg whites, giving your meringues that perfect crispness and ensuring they hold their shape beautifully.
- 1 Pinch Salt: Just a tiny bit enhances all the flavors and helps those egg whites whip up nice and stiff.
- 1 ⅓ cups White Granulated Sugar: This is what sweetens our bones and gives them their glossy, firm structure. Don’t try to reduce it too much, as it’s crucial for the meringue’s stability.
- 2 teaspoons Vanilla Extract: My absolute favorite! Pure vanilla extract adds that classic, comforting sweetness.
How to Make Meringue Bones
Alright, friend, let’s get our hands (and mixers!) ready to create some spooky-sweet magic. Follow these steps, and you’ll be a meringue master in no time!
- Get Ready to Bake: First things first, you’ll want to preheat your oven to a low and slow 225 degrees F (that’s 110 degrees C). While the oven gets cozy, grab two baking sheets. Line each one with aluminum foil – this is key for easy release later! Then, give that foil a good grease. You can use butter, shortening, or even a non-stick cooking spray. I find the foil and grease combo works best to prevent sticking.
- Whip Those Whites: In a large, clean bowl (and I mean clean – any trace of grease can ruin your meringue!), add your room temperature egg whites. Sprinkle in the cream of tartar and that pinch of salt. Now, with your electric mixer (handheld or stand mixer works great), start beating those egg whites. Begin on a medium speed and watch them transform from clear liquid to a foamy, cloud-like consistency.
- Sweeten and Stiffen: This is where the magic really happens! Once your egg whites are foamy, it’s time to gradually add the sugar. Don’t dump it all in at once! Add it a few tablespoons at a time, beating well after each addition. You want to make sure the sugar completely dissolves into the meringue before you add more. This process takes a little patience, but it’s crucial for a smooth, glossy, stable meringue. Keep beating on medium-high speed until the meringue is beautifully glossy and forms a sharp, stiff peak when you lift the beaters straight up out of the bowl. Finally, beat in your vanilla extract until just combined. If you love simple, delightful treats, you might also enjoy making some easy Key Lime Pie Cookies for another quick, crowd-pleasing dessert!
- Pipe the Fun: Now for the creative part! Spoon your glorious meringue into a pastry bag. If you have a small round tip (like an Ateco 800 or Wilton 1A), that’s perfect for these bone shapes. If you don’t have a pastry bag, no worries! You can snip off a small corner of a sturdy Ziploc bag.
- Shape Your Bones: On your prepared baking sheets, pipe small bone shapes. I usually start with a little round blob for one end, pipe a short line, then another blob, another short line, and finish with a third blob. Aim for consistency in size so they bake evenly. Work quickly here to prevent the meringue from deflating. Remember, it’s all about having fun with it!
- Bake (But Don’t Peek!): Carefully place your cookie sheets into the preheated oven. Now, here’s the hardest part: resist the urge to open that oven door! Seriously, no peeking! Let them bake for exactly 1 hour. Opening the door can cause your meringues to crack or collapse.
- Cool Down Slowly: After 1 hour, turn off the oven. But don’t open the door yet! Let the Meringue Bones cool completely in the oven for another hour. This slow cooling process is vital for ensuring they dry out properly and become wonderfully crisp all the way through.
- Release the Bones: Once fully cooled, gently and carefully remove your Meringue Bones from the aluminum foil. They can be delicate, so take your time to prevent any breakage. And just like that, you’ve got a batch of perfectly spooky and sweet treats!
Substitutions & Additions
While these Meringue Bones are perfect as is, a little creativity never hurt anyone! Here are a few ways to switch things up:
- Flavor Twists: Instead of vanilla, try almond extract for a marzipan-like flavor, or peppermint extract for a festive touch (perfect if you’re making these for a winter holiday!). You could even add a tiny bit of lemon zest for a subtle citrusy hint.
- Color Fun: Want to make them even more whimsical? Add a drop or two of food coloring (gel food coloring works best) to the meringue after the vanilla extract is mixed in. Think eerie green for goblin bones, or even a subtle grey!
- Drizzle & Dip: Once cooled, you can drizzle them with melted dark or white chocolate for an extra layer of decadence. A dusting of edible glitter could also make them extra sparkly for a party!
- Spice it Up: For a warmer flavor, a tiny pinch of cinnamon or nutmeg could be folded in with the vanilla.
Tips for Success
Making meringue can feel a little intimidating at first, but with these tips, you’ll be a pro!
- Cleanliness is Key: Ensure your mixing bowl and beaters are absolutely spotless and free of any grease or egg yolk. Even a tiny bit can prevent your egg whites from whipping up properly. I usually wipe my bowl and whisk with a paper towel and a little white vinegar as an extra precaution.
- Room Temperature Egg Whites: This isn’t just a suggestion; it’s a rule! Room temperature egg whites whip up with more volume and stability.
- Patience with Sugar: Don’t rush adding the sugar. Gradually incorporating it and allowing it to dissolve is what gives meringue its glossy, stable structure and prevents a gritty texture. You’ll know it’s dissolved when you rub a tiny bit between your fingers and don’t feel any granules.
- Don’t Overbeat: While you want stiff peaks, don’t keep beating endlessly once you’ve reached that stage. Overbeaten meringue can become dry and crumbly.
- No Peeking Policy: Seriously, I can’t stress this enough! Opening the oven door during baking or cooling can introduce humidity and temperature changes, causing your beautiful meringues to crack, weep, or collapse.
- Prep Ahead: You can whip up the meringue mixture a little bit ahead of time, but it’s best to pipe and bake immediately. For other treats that are great for making in advance, consider holiday baking like easy Christmas Pinwheel Cookies!
How to Store Meringue Bones
Once your Meringue Bones are perfectly baked and cooled, proper storage is essential to keep them crisp and delicious.
- Airtight Container: Store them in an airtight container at room temperature. Humidity is meringue’s arch-nemesis, so keep them away from any moisture.
- Shelf Life: If stored correctly, they’ll stay fresh and crisp for up to 2 weeks.
- Avoid the Fridge: Do not refrigerate meringues, as the moisture in the fridge will make them soft and sticky.
FAQs
Q: Why did my meringue turn soft or sticky after baking?
A: This usually happens if the meringues weren’t baked long enough at a low temperature, or if they were exposed to humidity during cooling. Make sure your oven temperature is accurate and resist the urge to open the oven door during the cooling period!
Q: Can I use liquid egg whites from a carton?
A: While possible, fresh egg whites are always best for meringue. Carton egg whites sometimes contain additives that can interfere with their ability to whip up to stiff peaks, resulting in a less stable meringue.
Q: My meringue cracked! What went wrong?
A: Cracking can occur if the oven temperature is too high, causing the outside to cook too quickly while the inside expands. It can also happen if the temperature fluctuates too much during baking or cooling. Another reason could be adding sugar too quickly or not allowing it to dissolve properly, creating an unstable structure. Don’t worry, they still taste delicious!
Q: I don’t have cream of tartar. Can I still make meringue?
A: Cream of tartar is a great stabilizer, but you can substitute it with a teaspoon of white vinegar or lemon juice per cup of egg whites. These acids help achieve similar stability, though the texture might be slightly different. For other light and sweet bites, a batch of easy 3-ingredient lemon fudge could be just the ticket if you’re looking for simple, delightful confections!
For more delicious recipes and kitchen inspiration, be sure to follow us on Pinterest!
Spooktacularly Sweet Meringue Bones
Equipment
- large bowl
- Electric mixer (handheld or stand mixer)
- oven
- Baking sheets 2
- Aluminum foil
- Pastry bag or sturdy Ziploc bag
- Small round piping tip optional, e.g., Ateco 800 or Wilton 1A
Ingredients
- 6 Large Egg Whites room temperature
- 1/2 tsp Cream of Tartar
- 1 Pinch Salt
- 1 1/3 cups White Granulated Sugar
- 2 tsp Vanilla Extract pure vanilla extract
Instructions
- Step 1: Get Ready to Bake: Preheat your oven to 225°F (110°C). Line two baking sheets with aluminum foil and grease them well with butter, shortening, or non-stick cooking spray.
- Step 2: Whip Those Whites: In a large, clean bowl, add room temperature egg whites, cream of tartar, and a pinch of salt. Beat with an electric mixer on medium speed until foamy.
- Step 3: Sweeten and Stiffen: Gradually add the white granulated sugar, a few tablespoons at a time, beating well after each addition until sugar completely dissolves. Continue beating on medium-high speed until the meringue is glossy and forms sharp, stiff peaks. Beat in the vanilla extract until just combined.
- Step 4: Pipe the Fun: Spoon the meringue into a pastry bag fitted with a small round tip (like an Ateco 800 or Wilton 1A), or snip off a small corner of a sturdy Ziploc bag.
- Step 5: Shape Your Bones: On the prepared baking sheets, pipe small bone shapes. Start with a round blob, pipe a short line, then another blob, another short line, and finish with a third blob. Aim for consistent sizes and work quickly.
- Step 6: Bake (But Don’t Peek!): Carefully place the baking sheets into the preheated oven. Bake for exactly 1 hour without opening the oven door.
- Step 7: Cool Down Slowly: After 1 hour, turn off the oven but leave the Meringue Bones inside to cool completely for another hour. This slow cooling ensures they dry out and become crisp.
- Step 8: Release the Bones: Once fully cooled, gently and carefully remove your Meringue Bones from the aluminum foil. Serve immediately or store.