
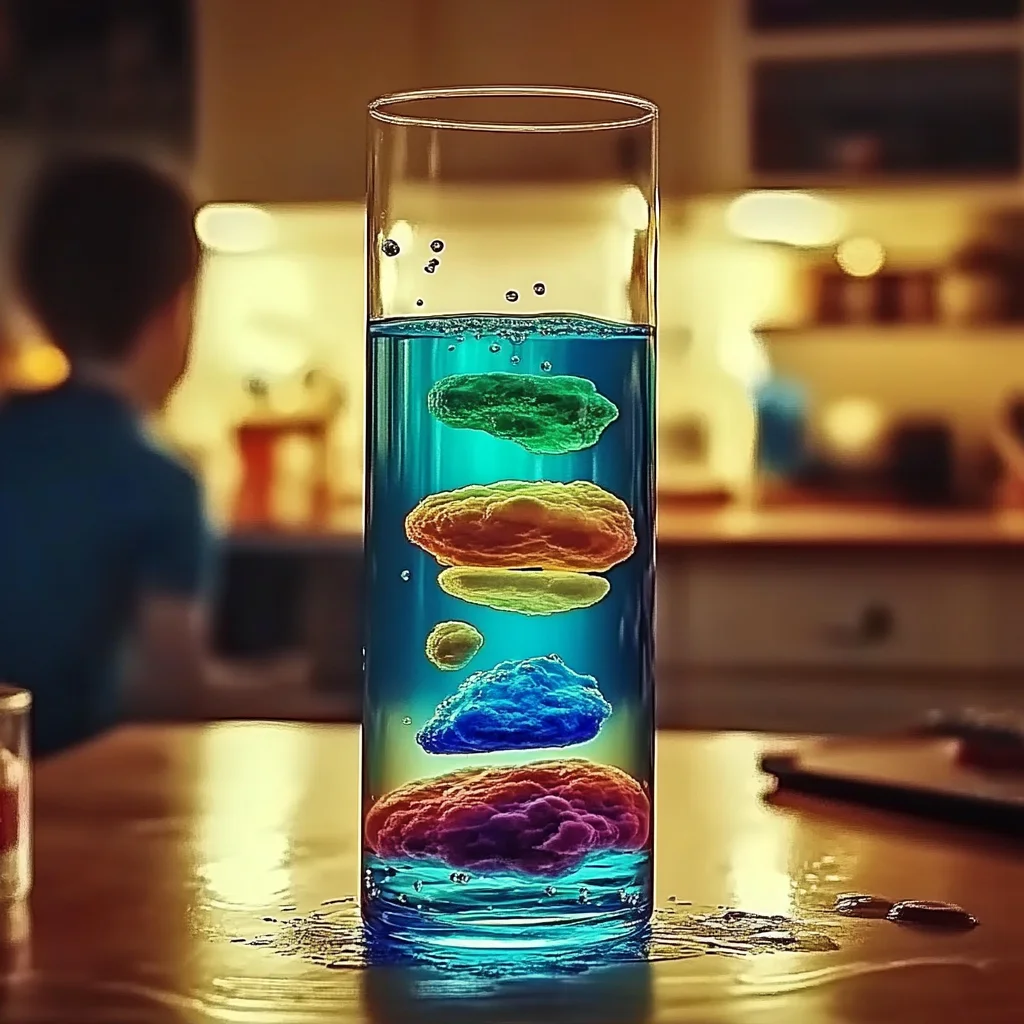
Imagine the delight of watching colorful bubbles dance and swirl in a mesmerizing display right in your own home. The DIY Lava Lamp Experiment is not just a fun activity; it’s a fantastic way to introduce the wonders of science to kids and adults alike. As you create this vibrant masterpiece, you’ll be reminded of simpler times spent gazing into a lava lamp, letting your imagination run wild. The thrill of seeing the oil and water separate, followed by the magical rise and fall of bubbles, is truly captivating. Let’s embark on this colorful journey together!
Why You’ll Love Lava Lamp Experiment
- Beginner-friendly
- Budget-friendly
- Creative and fun
- Great for kids and families
- Perfect for gifts or decorations
- Customizable
The Heart Behind This DIY
Crafting your very own lava lamp is more than just a fun project; it’s a delightful experience that encourages creativity and sparks curiosity. As you mix the ingredients, you engage in a sensory activity that captivates sight and touch. The vibrant colors, the feel of the oil, and the fizz of the Alka-Seltzer tablet all come together to create a moment of wonder. This project not only promotes mindfulness but also builds confidence as you see your creation come to life. It’s a wonderful way to bond with family and friends, creating memories that will last long after the bubbles settle.
A Gentle Look at the Process
You can expect a delightful mix of colors and a satisfying reaction as you create your lava lamp. The process is simple and unfolds like a magic trick, where you’re both the magician and the audience. As you pour the ingredients and watch them interact, you’ll find yourself enchanted by the colorful bubbles that rise and fall in the container. It’s a calming and joyful experience, perfect for a cozy crafting session.
Materials You’ll Need
- Clear plastic bottle or glass container – This will hold your lava lamp and allow you to see the stunning effects.
- Water – The base of your lava lamp, providing the medium for the bubbles to rise and fall.
- Vegetable oil – This is the key ingredient that creates the mesmerizing effect as it floats on top of the water.
- Food coloring – Add a splash of color to your creation and make it uniquely yours.
- Alka-Seltzer tablets or baking soda – These will create the bubbly reaction that makes your lava lamp come alive.
Step-by-Step Directions
Step 1
Start by filling your container about one-quarter full with water. As the water settles, you can enjoy the calmness it brings.
Step 2
Next, add a few drops of food coloring to the water and stir gently. Watch as the color spreads and transforms the water into a vibrant hue. This is where your creativity shines!
Step 3
Pour vegetable oil into the container until it’s nearly full, leaving some space at the top. Take a moment to marvel at how the oil forms a layer on top of the water, creating a beautiful separation of colors.
Step 4
Now, wait a few minutes for the oil and water to separate completely. This is an excellent time to discuss with kids why oil and water don’t mix, sparking a fun scientific conversation.
Step 5
Break an Alka-Seltzer tablet into pieces and drop one piece into the container. Observe the magical reaction as bubbles rise to the top, creating a mesmerizing lava lamp effect. It’s a moment of pure joy!
Step 6
For a longer-lasting effect, you can add more Alka-Seltzer pieces as needed. Alternatively, add baking soda to the water for a similar reaction. Watch as the bubbles dance and swirl, bringing your lava lamp to life.
Creative Ways to Use Lava Lamp Experiment
Once you’ve created your lava lamp, the possibilities are endless! You can display it as a colorful decoration in your home, gift it to a friend or family member, or even use it as a calming night light for kids. Imagine the joy on their faces as they watch the colorful bubbles rise and fall, creating a soothing ambiance. You could even create themed lava lamps for different seasons or celebrations, adding a unique touch to your decor.
How to Store, Preserve, or Reuse Lava Lamp Experiment
If you want to preserve your lava lamp, simply keep it in a cool, dry place away from direct sunlight. If the fizzing reaction stops, you can always refresh it with more Alka-Seltzer or baking soda. These lamps can be reused by simply adding new ingredients as needed, making it a fun project you can revisit anytime!
Creative Variations and Customizations
- Color variations – Experiment with different food coloring combinations to create unique shades.
- Theme ideas – Create seasonal lamps using colors that represent holidays or special occasions.
- Seasonal adaptations – Use glitter or small toys related to seasons for added fun.
- Kid-friendly modifications – Use safe, edible ingredients for younger children to experiment with.
- Advanced creative upgrades – Try adding essential oils for a soothing aroma or glow-in-the-dark paint for a night-time effect.
Tips for Success
- Common mistakes to avoid – Make sure to let the water and oil separate completely before adding the Alka-Seltzer.
- Safety tips if applicable – Ensure young children are supervised, especially when handling the materials.
- Preparation suggestions – Gather all materials before starting to make the process smoother.
- Cleanup recommendations – Use a towel to wipe any spills and rinse out your container after use.
- Expert crafting tips – Don’t hesitate to get creative with colors and themes – this is your lava lamp, so make it your own!
FAQs About Lava Lamp Experiment
Can beginners make this?
Absolutely! This project is very beginner-friendly and perfect for all ages.
Can children participate?
Yes! This is a great activity for kids, with adult supervision for handling the Alka-Seltzer.
How long does it last?
The effect can last as long as you continue to add Alka-Seltzer or baking soda. The bubbles will eventually settle, but you can refresh it as needed.
Can I customize it?
Definitely! You can customize the colors, themes, and even add glitter or small decorations to personalize your lava lamp.
A Final Creative Note
As you wrap up your lava lamp experiment, take a moment to appreciate the beauty of what you’ve created. Each colorful bubble is a testament to your creativity and the joy of making something with your own hands. I hope this project inspires you to explore more DIY adventures. For more delicious recipes, check out the fluffy blueberry lemon ricotta pancakes or the easy, fun Kool-Aid gummy treats! Remember, the world of crafting is vast and filled with endless possibilities. Keep creating, and let your imagination soar!
For more DIY inspiration, follow our Pinterest account!
DIY Lava Lamp Experiment
Equipment
- Clear plastic bottle or glass container
Ingredients
Materials
- 1 bottle Clear plastic bottle or glass container This will hold your lava lamp and allow you to see the stunning effects.
- 1 cup Water The base of your lava lamp, providing the medium for the bubbles to rise and fall.
- 1 cup Vegetable oil This is the key ingredient that creates the mesmerizing effect as it floats on top of the water.
- a few drops Food coloring Add a splash of color to your creation and make it uniquely yours.
- 1 tablet Alka-Seltzer tablets or baking soda These will create the bubbly reaction that makes your lava lamp come alive.
Instructions
- Step 1: Start by filling your container about one-quarter full with water.
- Step 2: Add a few drops of food coloring to the water and stir gently.
- Step 3: Pour vegetable oil into the container until it’s nearly full, leaving some space at the top.
- Step 4: Wait a few minutes for the oil and water to separate completely.
- Step 5: Break an Alka-Seltzer tablet into pieces and drop one piece into the container.
- Step 6: For a longer-lasting effect, add more Alka-Seltzer pieces as needed.
